Why Is Drying Cannabis Important
Drying cannabis is a crucial step in the post-harvest process that significantly impacts the quality, potency, and safety of the final product. Here are the primary reasons why you should dry weed after harvesting.
- Preservation of Potency and Flavor: Proper drying helps preserve the cannabinoids and terpenes in the cannabis. Cannabinoids like THC and CBD are responsible for the plant's effects, while terpenes contribute to weed aroma and flavor. Drying too quickly or too slowly can degrade these compounds, leading to a loss in potency and a less desirable taste.
- Prevention of Mold and Mildew: Freshly harvested cannabis contains a high moisture content, creating an ideal environment for mold and mildew growth. Drying reduces the moisture level in the buds, preventing the development of these harmful microorganisms. Moldy weed is unsafe to consume and can cause health issues.
- Improved Smoking Experience: Drying weed ensures that the buds are at the right moisture level for a clean, smooth burn. Wet or improperly dried cannabis can be harsh on the throat and lungs, leading to an unpleasant smoking experience.
- Enhanced Shelf Life: Drying cannabis correctly extends its shelf life by reducing the risk of microbial contamination and degradation. Properly dried and stored cannabis can retain its quality for months or even years, whereas poorly dried cannabis may spoil quickly.
How Long Does It Take To Properly Dry Cannabis
The drying period of cannabis can be influenced by several factors. For example, the bud size obviously matters because larger, more dense buds require a longer drying process as compared to small buds. Similarly, your choice for trimming, which is the process of removing the excess foliage and non-essential parts from the harvested cannabis plant also determines how long it takes to dry weed. Given that, the weed drying phase usually takes between 2 to 14 days.
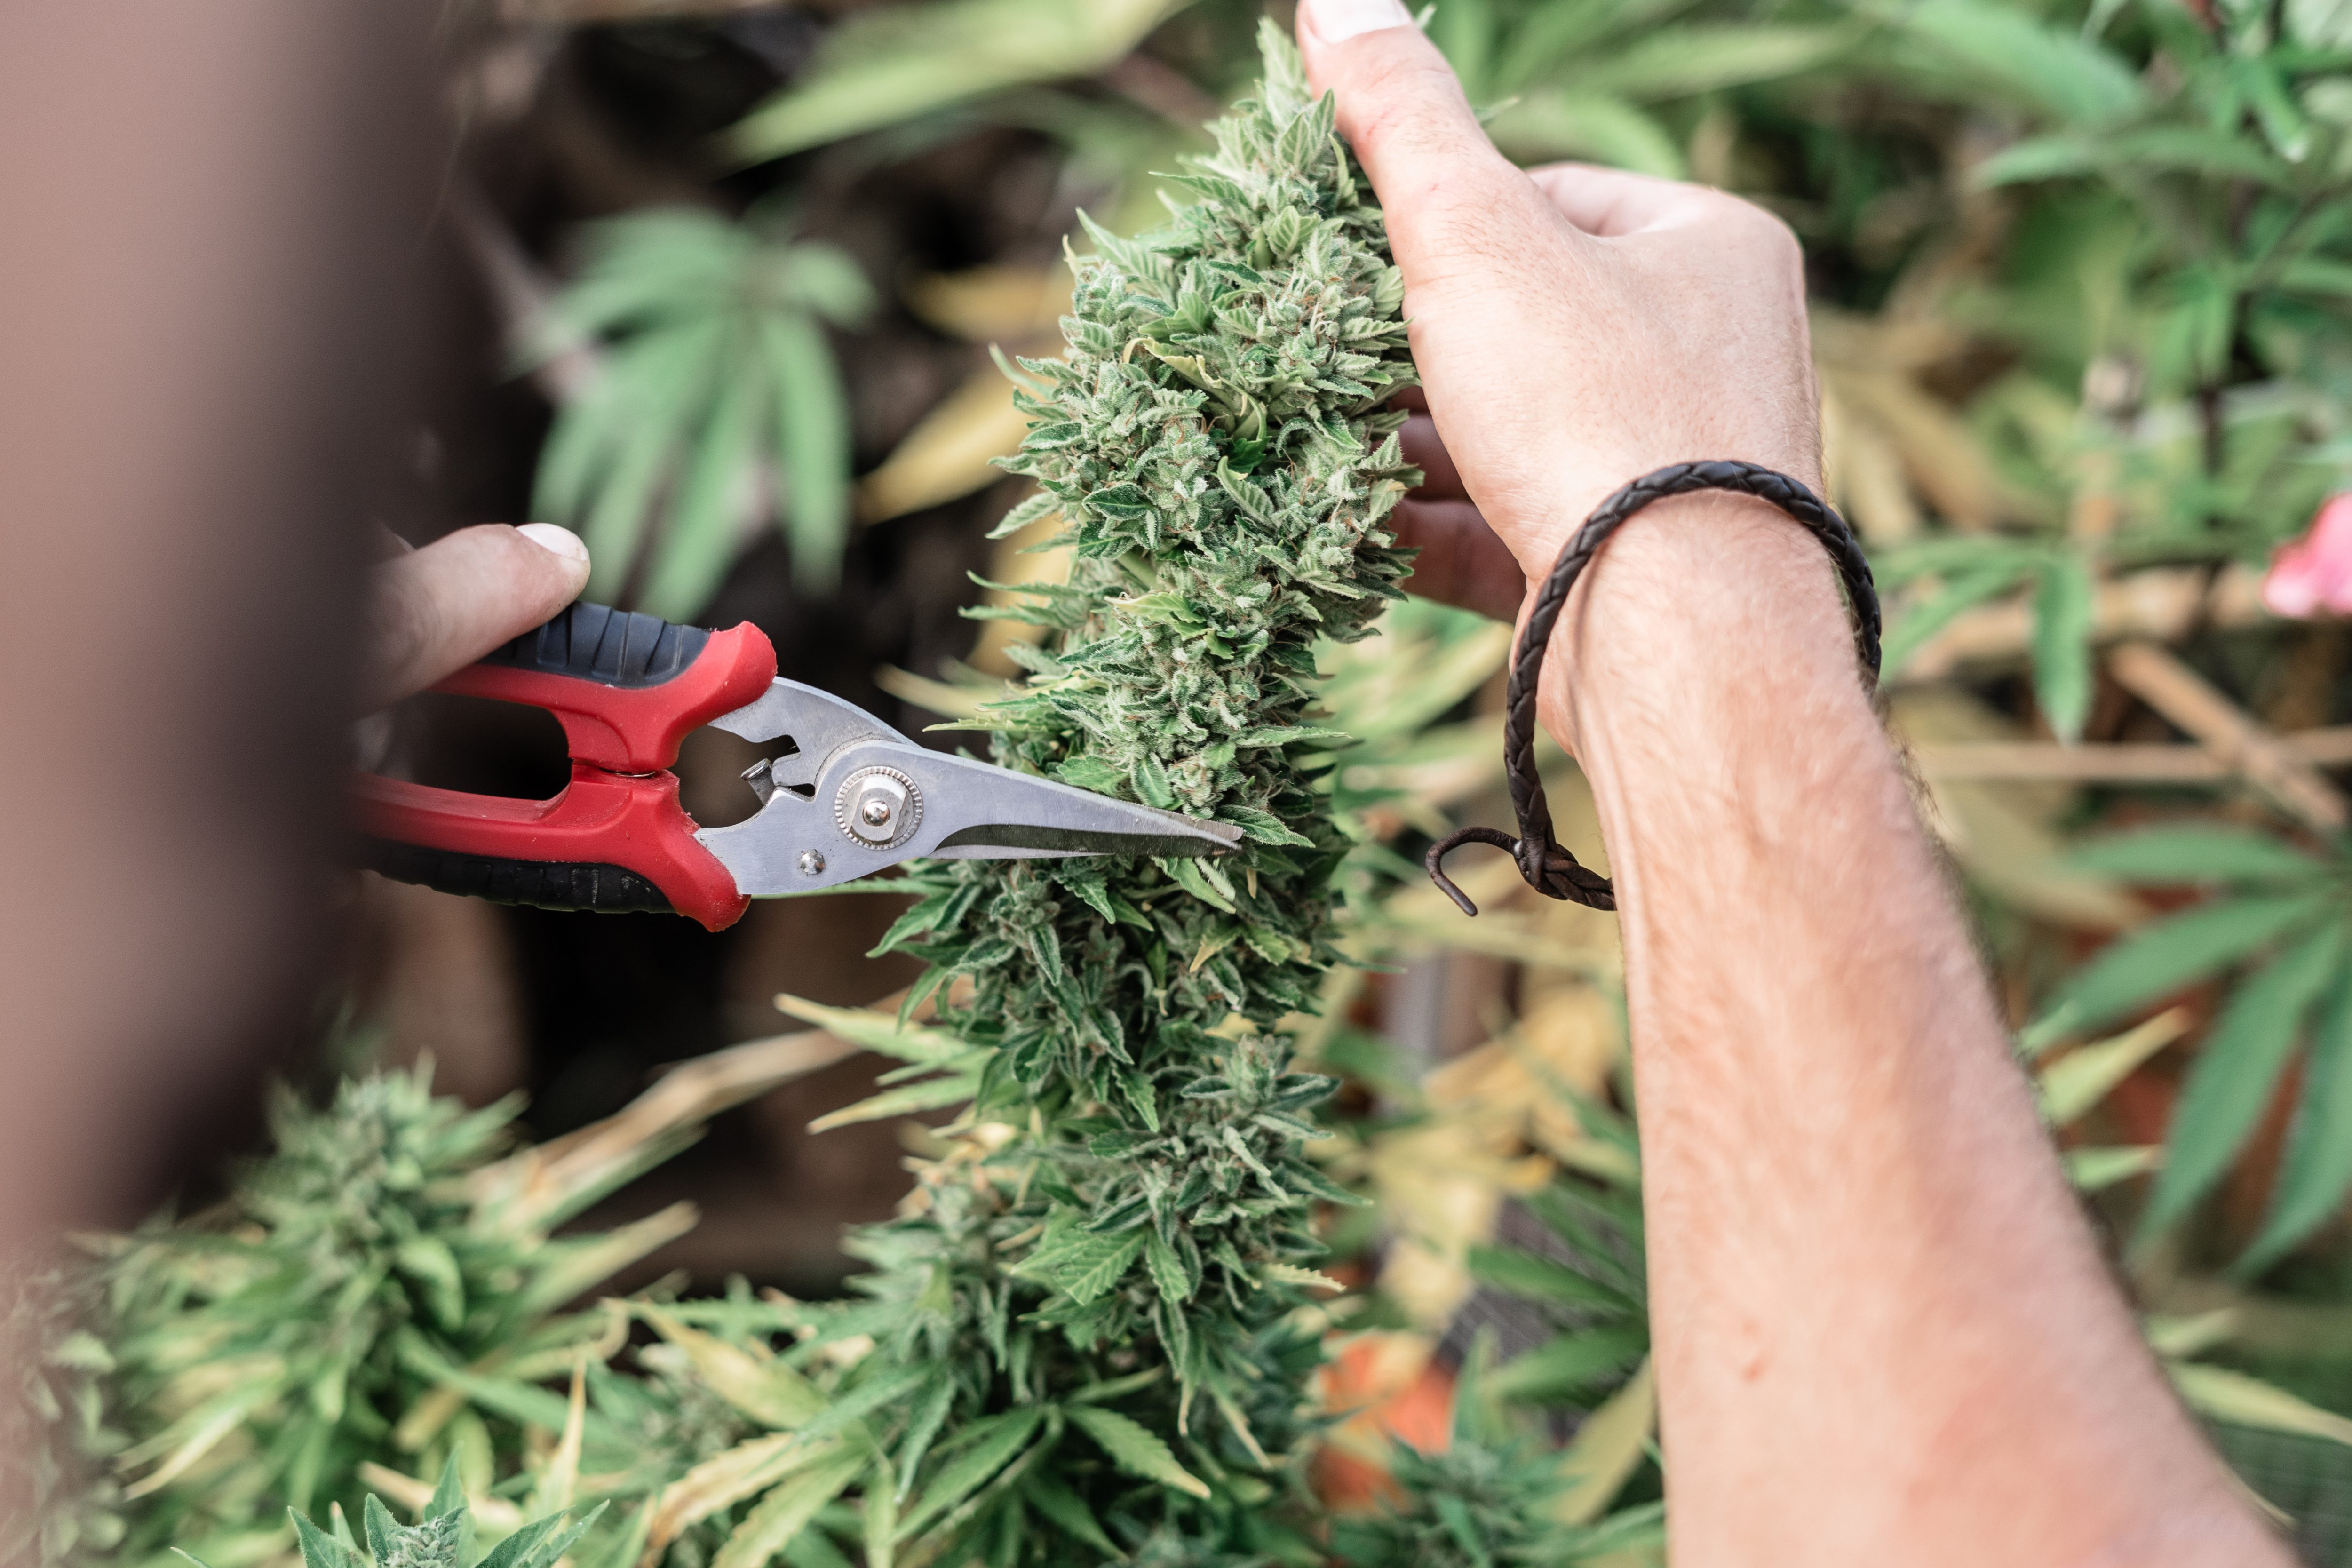
- Wet Trimming: By practicing wet trimming, most of the cannabis material is trimmed away before drying, which means there is less plant material to dry. This often results in a shorter drying process, approximately 2-7 days, as the trimmed buds have less moisture overall.
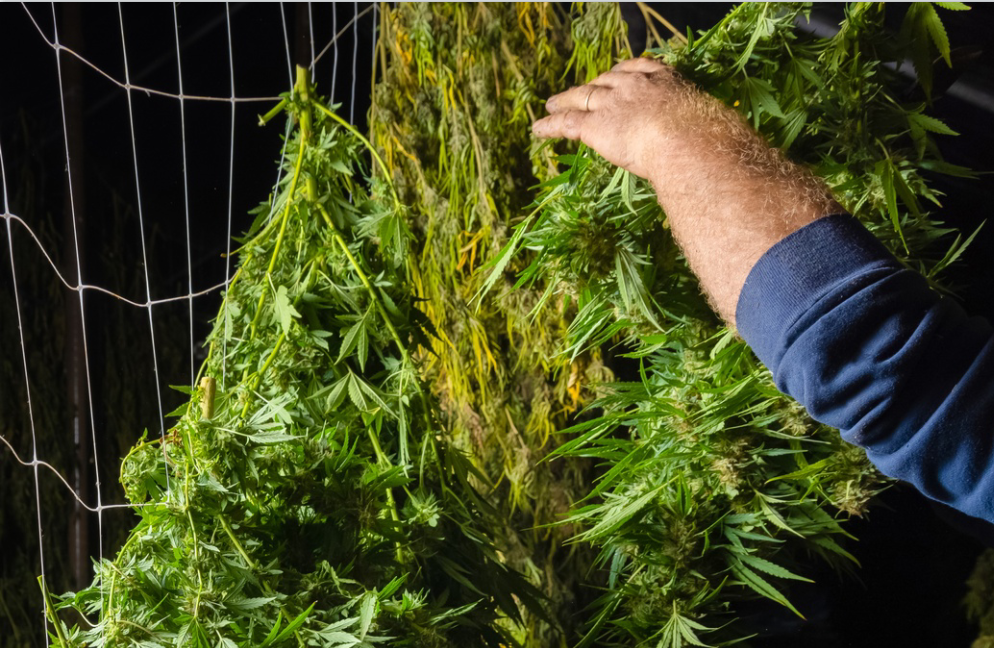
- Dry Trimming: When dry trimming, harvested plants or branches are hung upside down on a line or hanger. This can be done with either whole plants or individual branches. Hanging the plants preserves the shape of the buds, preventing them from getting flattened or misshapen as they dry. The drying process in this method takes a bit longer and is typically completed within 7 to 14 days.
Additionally, maintaining the right temperature, humidity, and airflow in the drying environment is essential, as these factors influence the drying process as well.
To determine if the buds are fully dried and ready for curing, take a small branch and attempt to bend it. If it snaps cleanly, the buds are dry and ready to be cured. If the branch bends or leaves behind stringy plant residue, more drying time is needed. Moreover, buds that are detached from their stems should feel dry to the touch when they are ready.
Tools Needed to Dry Weed
As you can expect, drying weed requires a few essential tools and a controlled environment to ensure the best results. Here is
a list of what you need to dry weed effectively at home:
- Hanging Supplies: String, clotheslines, or drying racks to hang the cannabis branches. You can also use mesh drying racks specifically designed for cannabis.
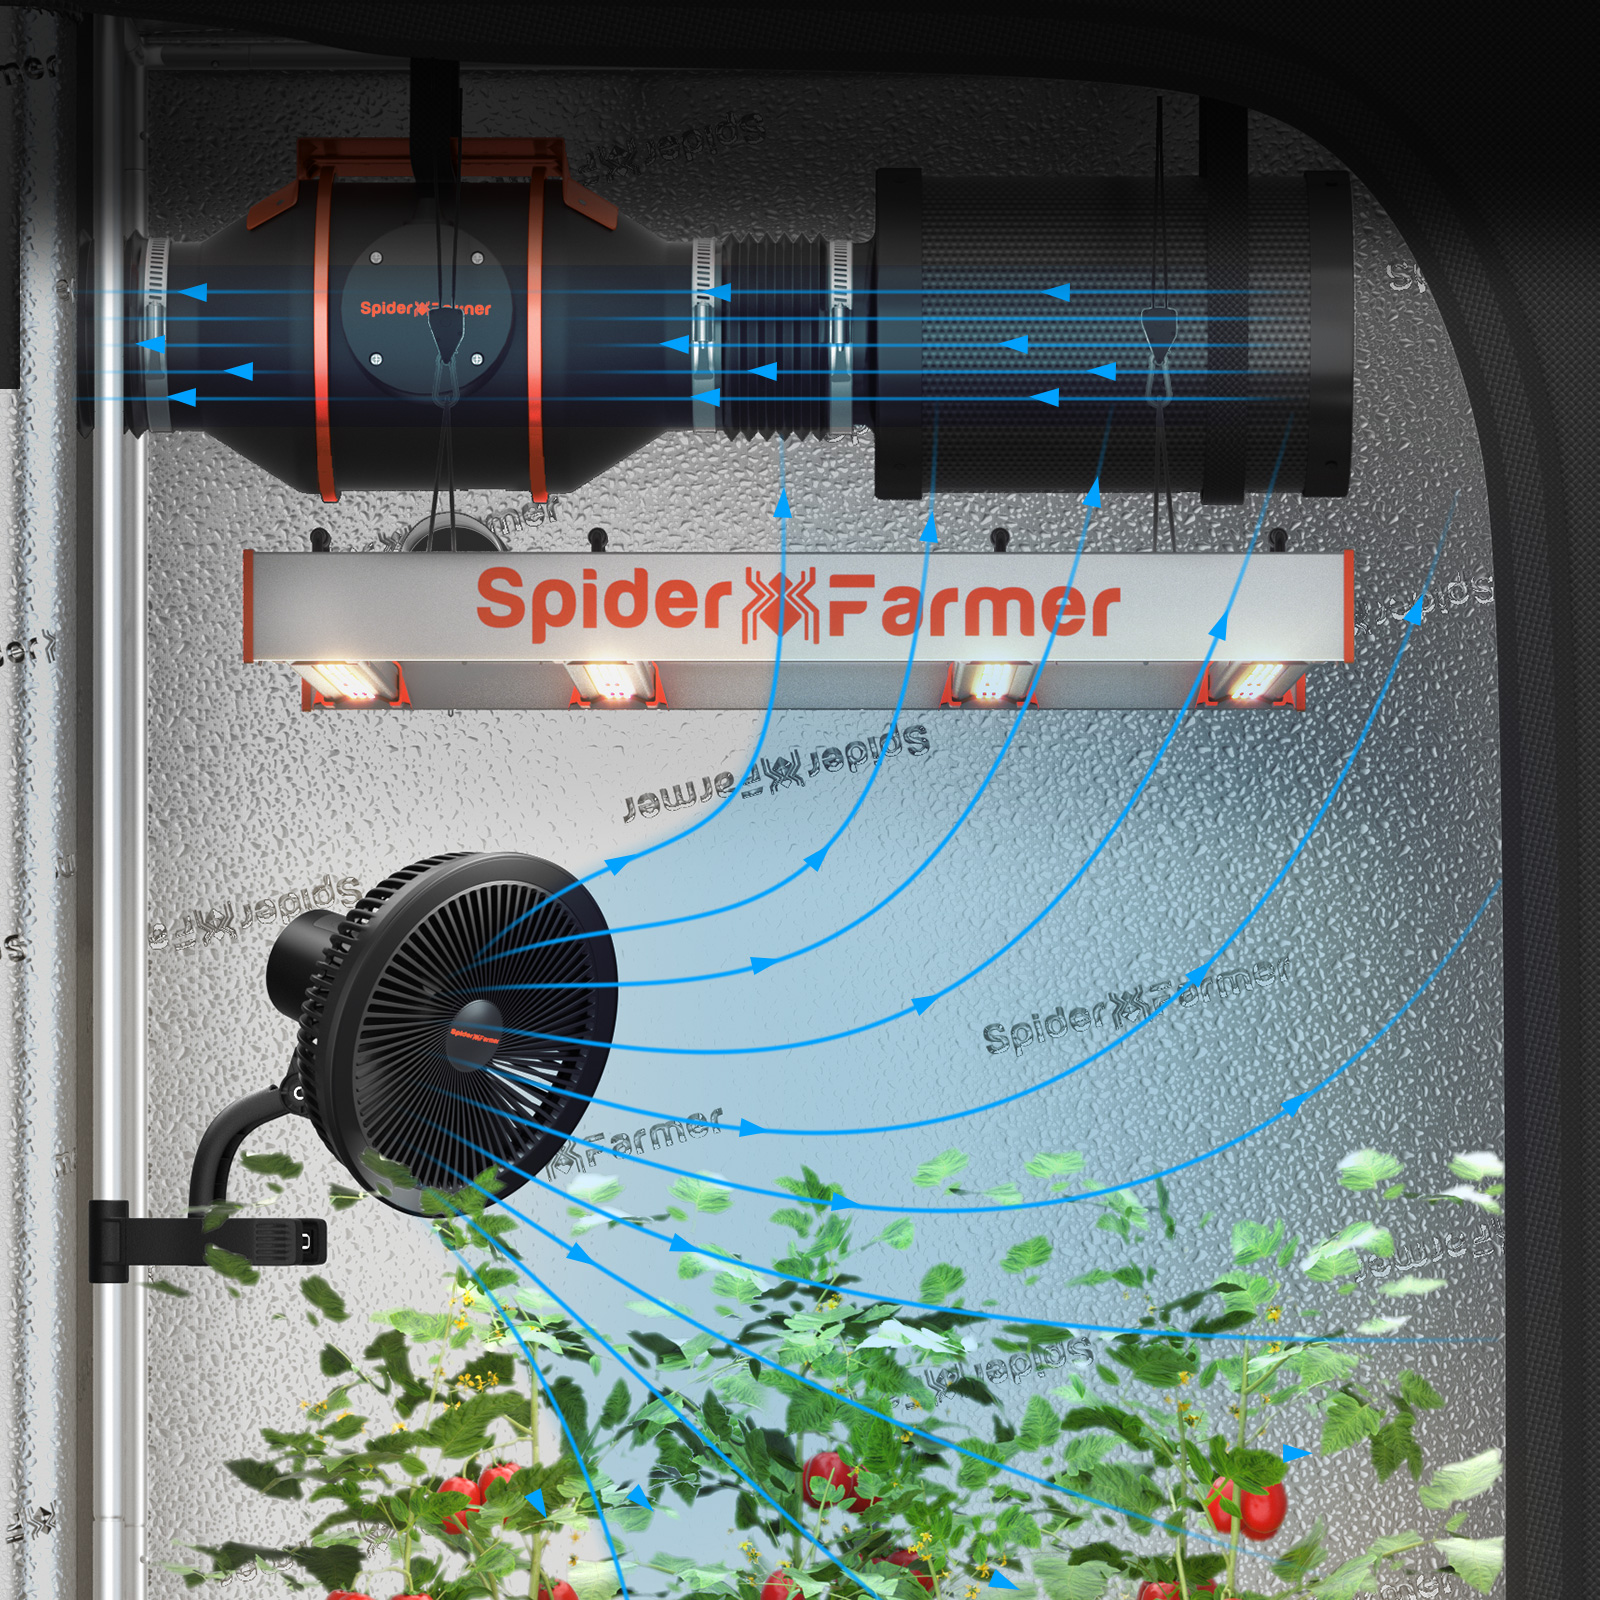
- Fan or ventilation system: Using a fan or ventilation system ensures proper air circulation in the drying room. Also, we both know the weed smell can last for days in your room, so a room with good air circulation is preferred.
- Hygrometer: A device to measure the humidity levels in the drying space.
- Thermometer: A device to monitor the temperature in the drying room.
- Dehumidifier or Humidifier: Depending on your local climate, you may need a dehumidifier to reduce moisture or a plant humidifier to add moisture to the air.
- Scissors or Pruners: Sharp tools to trim and handle the cannabis branches during the drying process.
- Gloves: Clean, disposable gloves to handle the buds and prevent contamination.
Dry Room: Temperature, Humidity, and Lighting
When picking up the ideal dry room, three things need to be considered: temperature, humidity level, and lighting conditions.
- Temperature: A suitable drying room should have a temperature maintained between 60-70°F.
- Humidity: The humidity level should be kept within a range of 55-65%. Consider using a plant humidifier or even dehumidifier when in extreme conditions.
- Lighting: To start with, the dry room needs to be dark and to some extent, light-tight. If you dry weed in light, it can cause UV light to degrade the integrity of cannabinoids and terpenes in the marijuana. You can open the door to check on weed-drying status but do avoid prolonged light exposure.
How to Dry Weed by Hanging Upside Down
Choosing to hang dry large branches or even whole plants is a convenient and effective method. This drying method eliminates the need to individually collect buds from the branches, saving time and effort. Once you have selected the branches or plants for drying, you can hang them upside down in a well-ventilated space. Here's a step-by-step guide to help you through the hang-drying process.
- Choose large branches or even whole plants for hang drying. In this way, you don't have to collect buds off the branches one by one.
- Hang the selected weed upside down. Ensure that each branch has enough space around it for air to circulate freely and also avoid moldy weed, especially when you are in damp or humid regions.
- Since there's more plant matter, including branches, stems, stalks, and fan leaves, the drying process may take 2 weeks or longer to finish.
How to Dry Weed Buds
Alternatively, you can wet-trim the cannabis before drying it. Trimmed buds take up less space compared with dry hanging, however, you won’t be able to hang them in a line. That’s when racks come into play.
- Use a flat drying rack when working with wet-trimmed buds. These racks are circular with multiple layers of mesh, which is ideal for ensuring good airflow around the buds.
- Spread the trimmed buds evenly across the rack. Make sure they are not overlapping or piled on top of each other to allow for even drying.
- Check the buds after 2-3 days by gently pressing them. If they still feel too wet, leave them to dry further and check again the next day.
How to Cure Cannabis
What Does Proper Curing Do to Weed?
Curing weed is an essential yet overlooked step in cannabis processing that follows drying. By storing dried weed in an airtight container, curing breaks down the chlorophyll and other plant materials that can impart a harsh or 'green' flavor to the buds, leading to a smoother, more refined flavor and a more pleasant aroma. Moreover, well-cured weed can maintain its quality and potency in sealed containers for up to two years without worrying about mold growth, cannabinoid, or terpene degradation.
How Long Does It Take to Cure Weed
Typically, a proper weed-curing process takes about 4 to 8 weeks. A period of at least 4 weeks is required for basic curing. However, experienced growers prefer a longer curing time, around 6 to 8 weeks or even longer. Extending the curing process allows for the development of a more complex flavor profile and can potentially increase the potency.
Cannabis Curing Process
Similar to drying weed, successful weed curing also relies on the right temperature and the relative humidity level. So, don't throw away the hygrometer since you still need it in the following procedures.
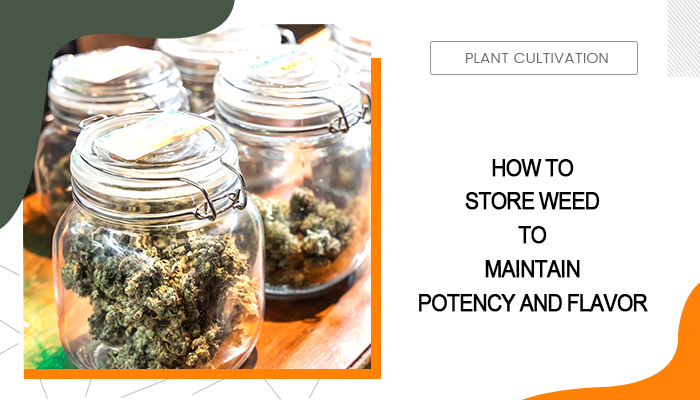
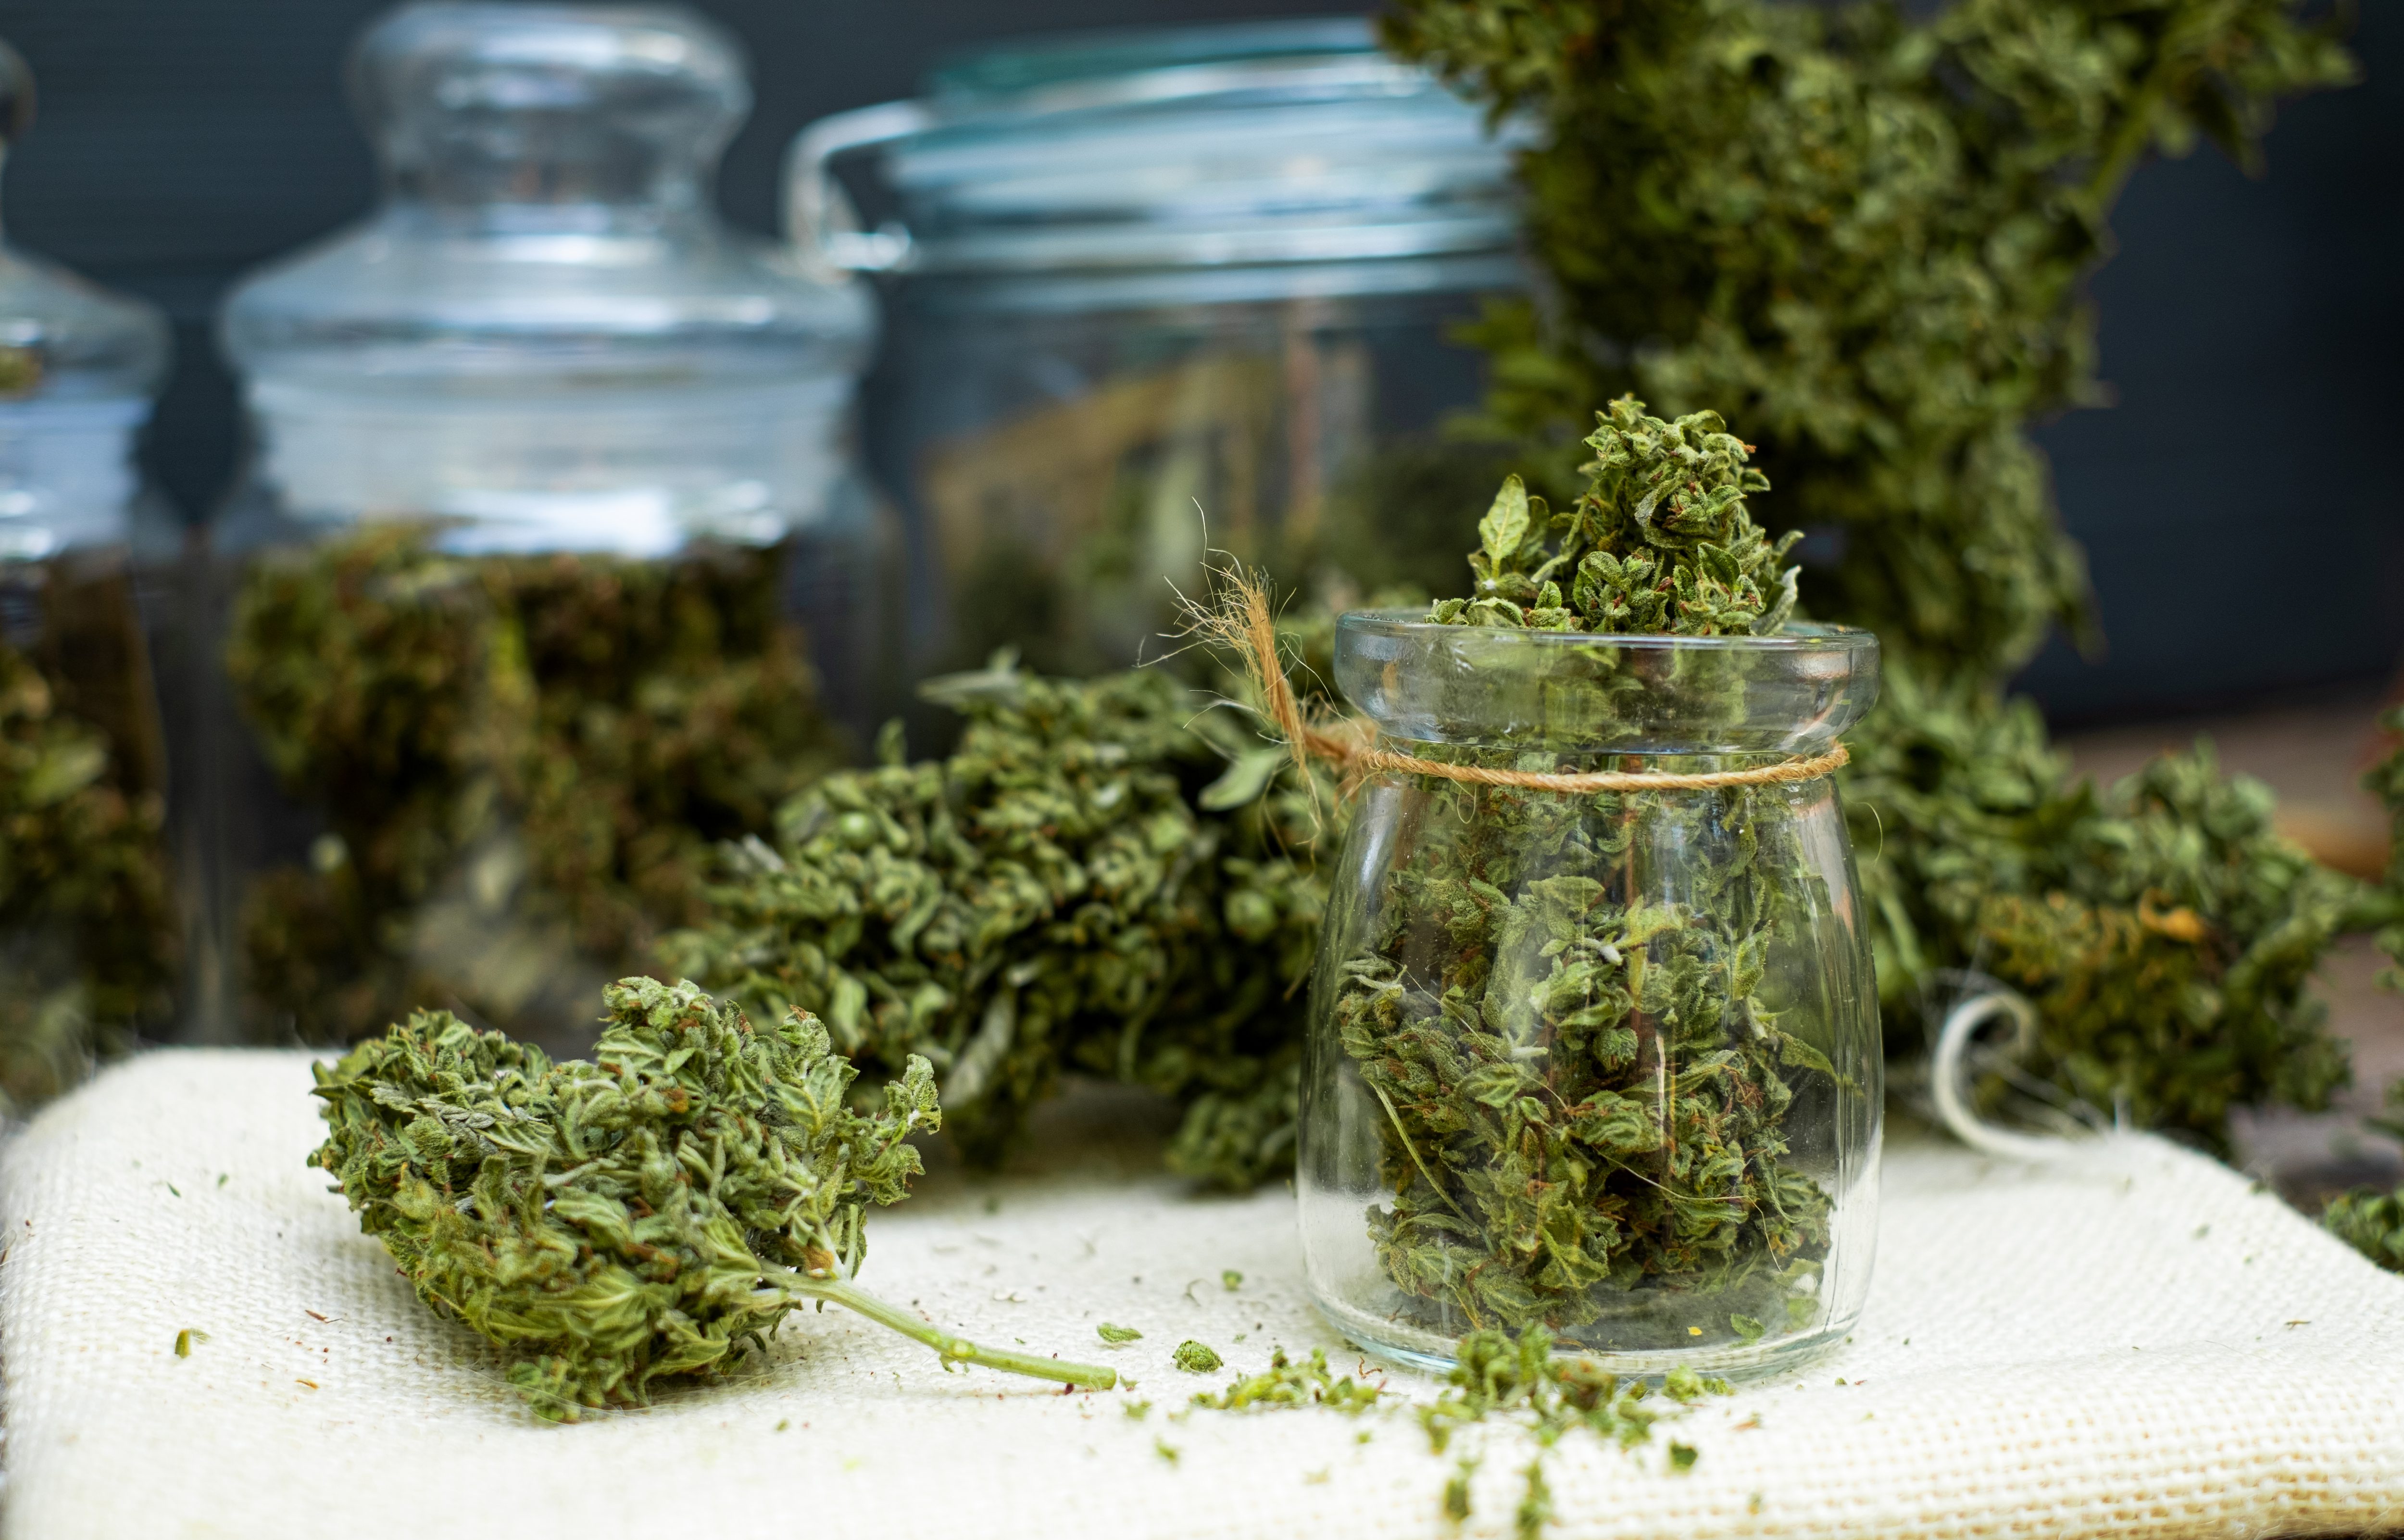
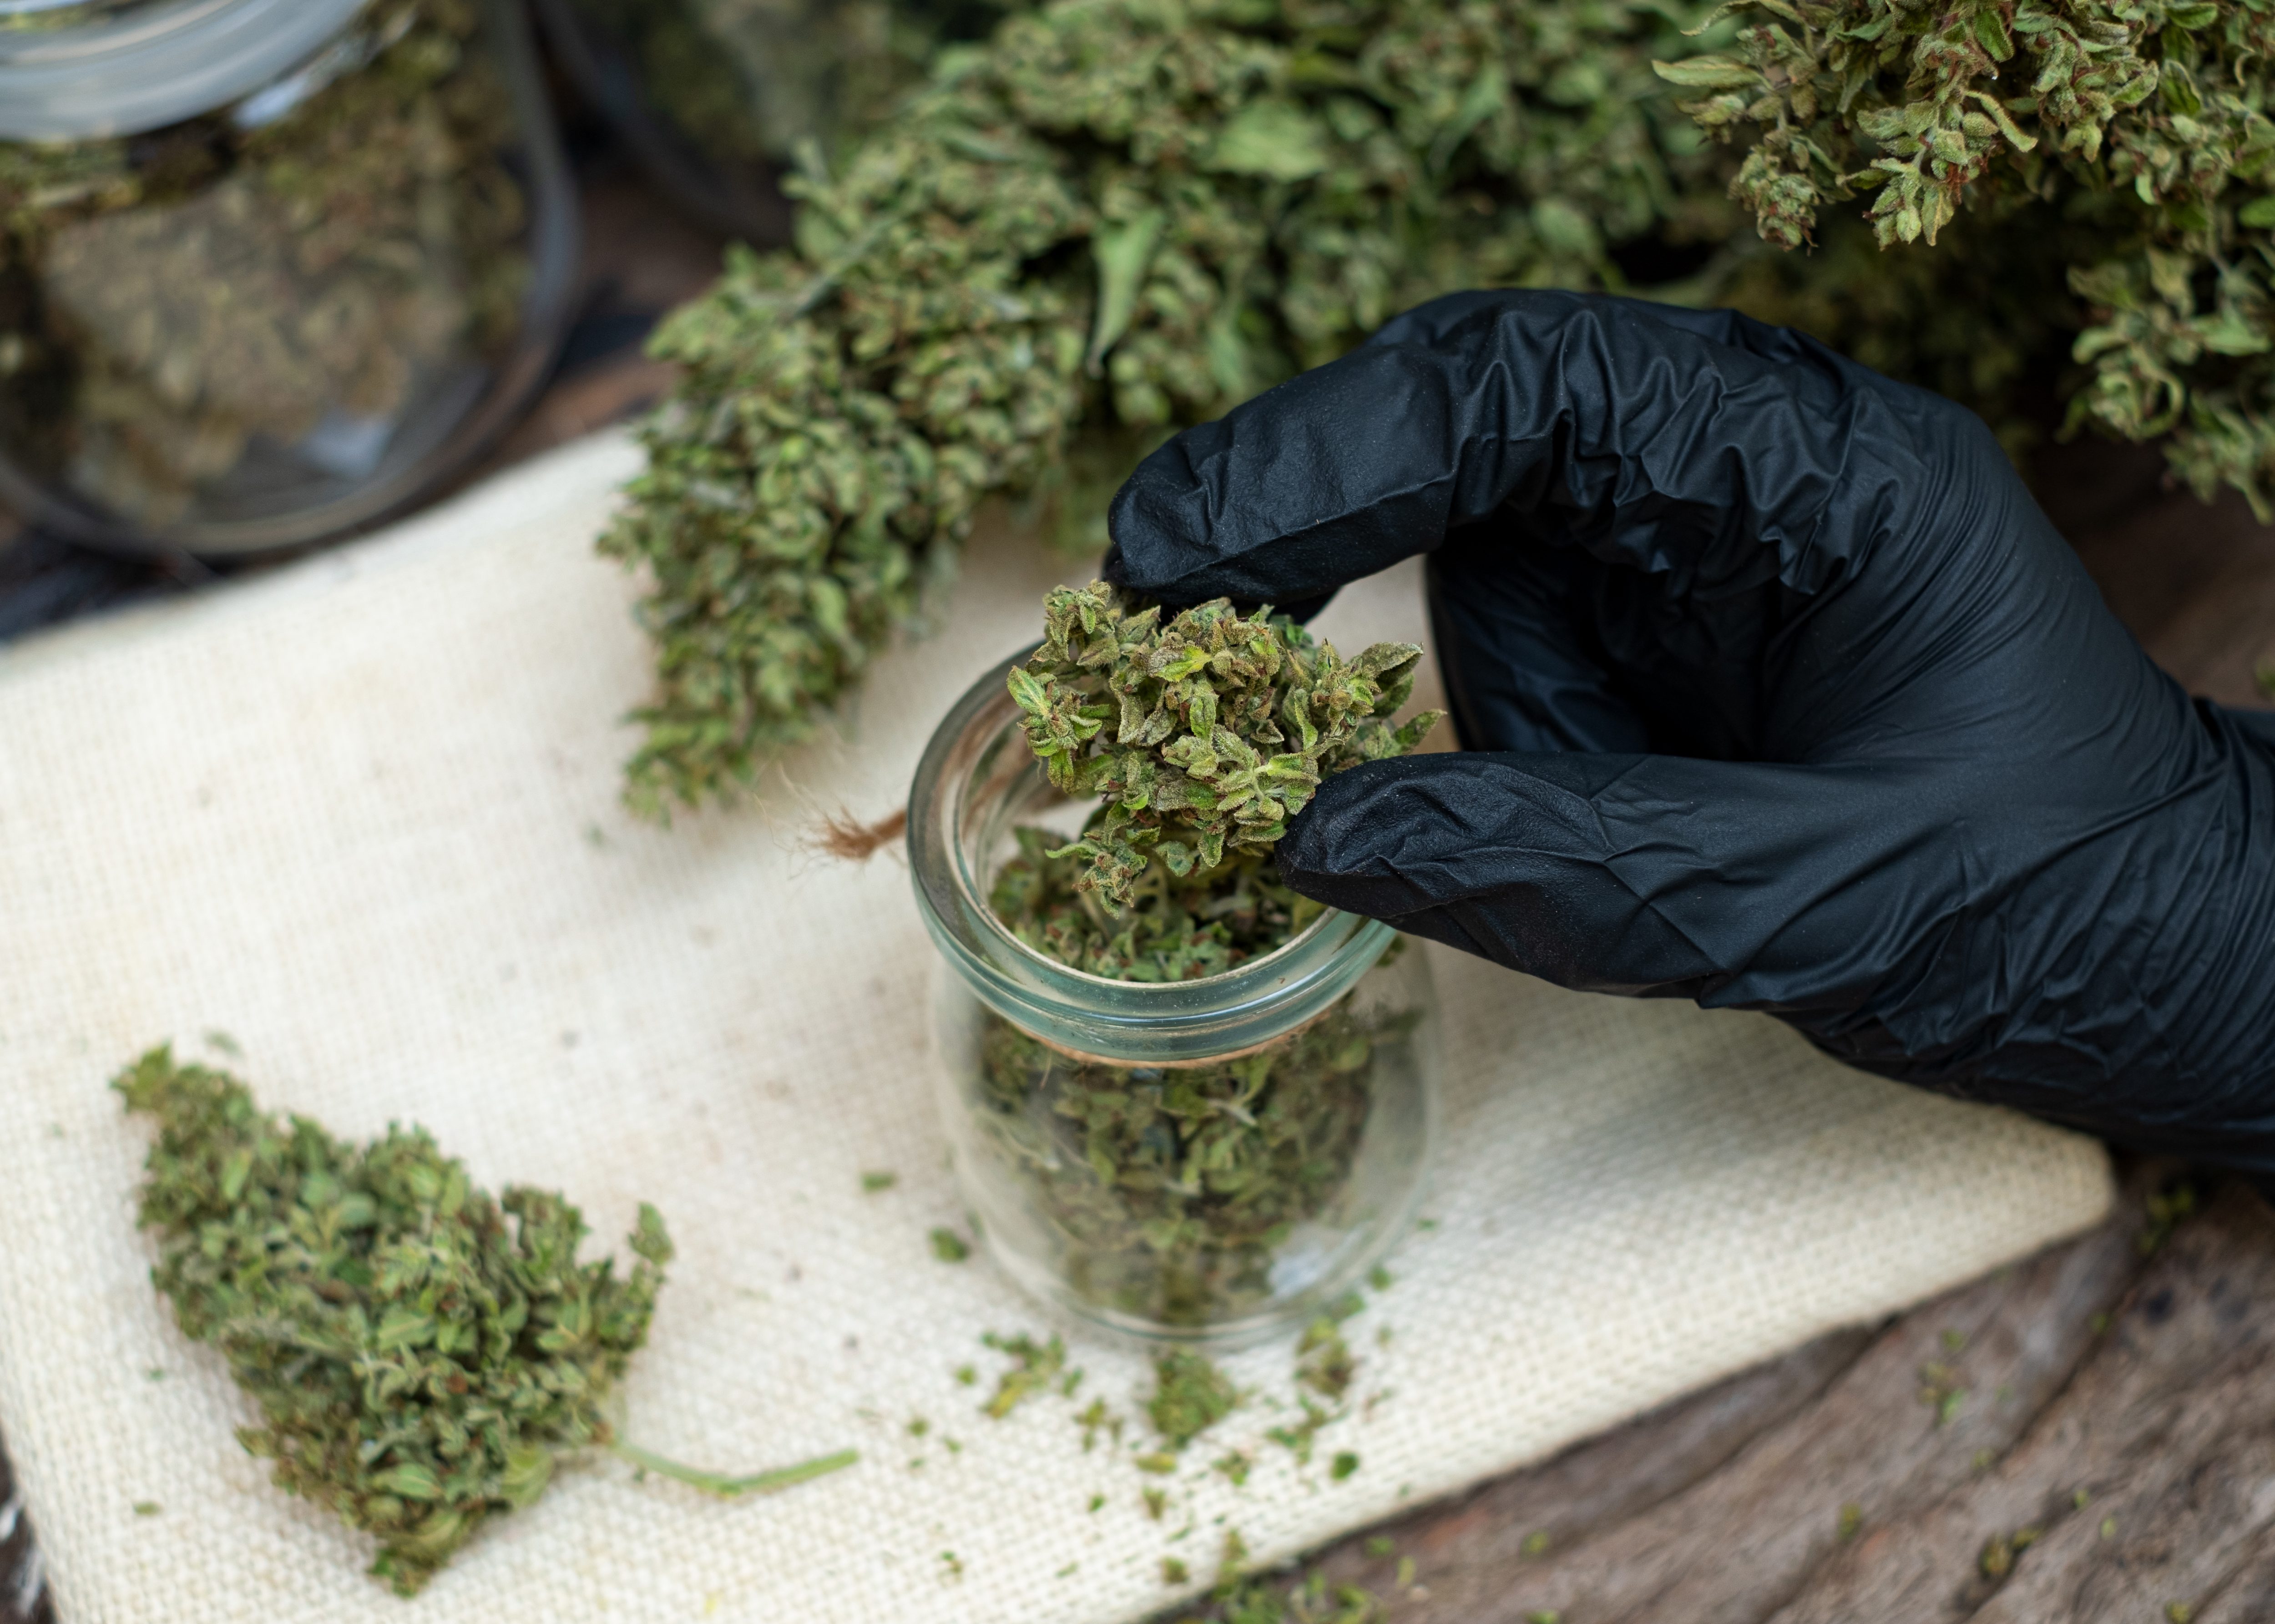
- Use airtight containers for curing, such as glass mason jars. Don't use plastic bags or containers as they can affect the flavor and aroma of the cannabis.
- Fill the jars with your dried buds, but don't overpack them. The buds should loosely fill the jars to about 3/4 full to allow for fluent air circulation.
- Place the jars in a cool, dark place. The ideal cannabis storage temperature is around 60-70°F (15-21°C). Anything below 50°F is likely to degrade or evaporate the cannabis. As for the humidity level in the jar, keep it around 55-65%.
- During the first week of curing, open the jars once or twice a day for about 10-15 minutes to let fresh air in and excess moisture out. After that, burp the dried weed every few days. The burping process allows gases from the curing process to escape.
Note: If the buds are overly dry, a simple humidity pack can rescue your weed. On the contrary, for excessively moist buds, keep the lid of the container open for either half a day or a full day before closing it again.
How to Store Dry Dill Weed
After proper drying and curing, the last stop for cannabis is storage. Well-placed cannabis can last for at least 1 year with decent flavor and potency. How to store dry dill weed? Here are some pro tips to master cannabis storage.
- An airtight glass container is a must. Glass jars with tight-fitting or vacuum-sealed lids are ideal.
- Place the container in a cool, dry place, similar to where you store the wine. A pantry or a cupboard away from heat sources (like stoves or ovens) and out of direct sunlight is a good location.
- Minimize the dill’s exposure to air. Each time you open the container, close it as quickly and tightly as possible. Oxygen can cause the herbs to lose their potency more quickly.
- If you live in a humid environment, consider adding a small packet of desiccant (like silica gel) to the storage jar to absorb any excess moisture.
One more reminder, it's helpful to label the container with the date of storage. While dried dill weed doesn’t necessarily go bad, it’s better consumed within one year of drying. Don’t miss the peak potency!
Conclusion
Properly drying weed, whether by hang drying or using flat racks, is crucial for reducing moisture and enhancing potency. The subsequent curing process refines the flavor and aroma, extending the shelf life. By giving a complete guide on how to dry weed, this post endeavors you master post-harvest cannabis care. These steps ensure your cannabis retains its quality and potency, providing an optimal experience. Have a question when drying weed? Leave a comment below and we’d like to help!