Materials and Tools Needed for DIY Grow Tents
Trust me, building a grow tent on your own is much easier than you expect. But first things first, you have to grab some essential materials to prepare for grow tent setups. Having these materials and tools ready will ensure a smoother setup process for your DIY grow tent.
Frame Materials
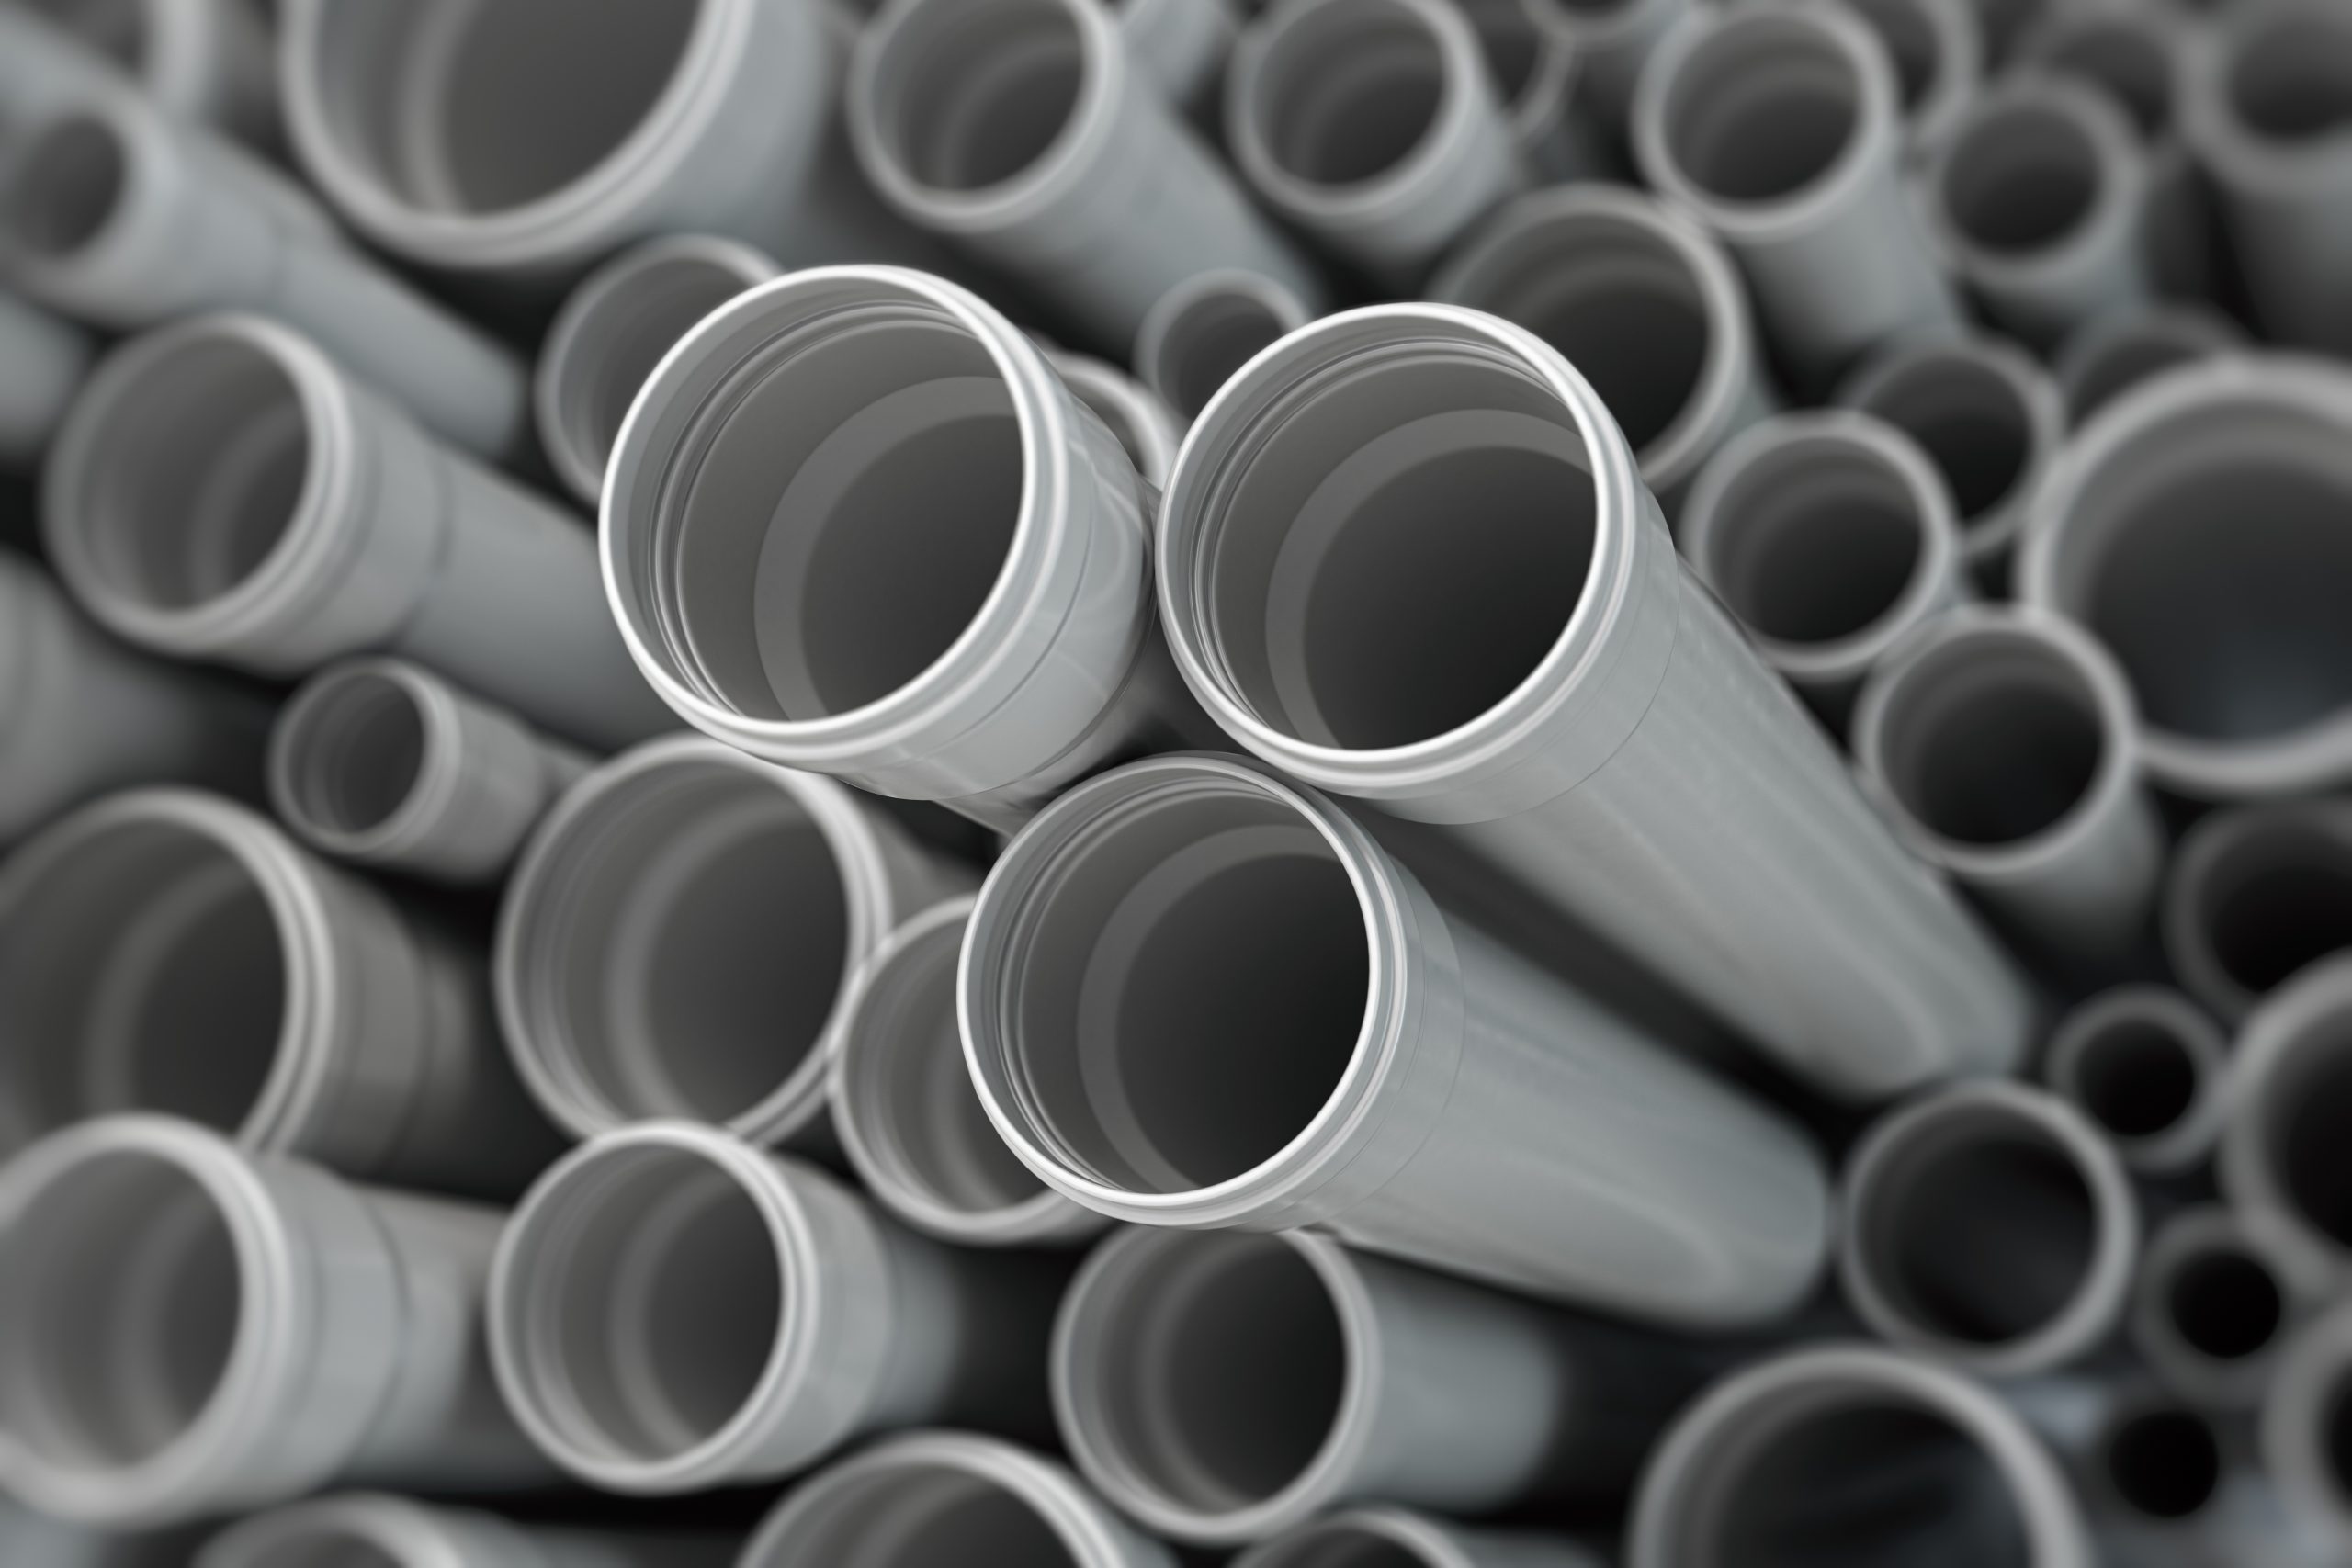
- PVC pipes: Lightweight, affordable, and easy to work with, the pipes serve as the primary structure for the DIY grow tent, providing stability and support for the covering material and other components.
- Corner connectors or brackets: These hardware pieces are used to join and secure the PVC pipes at the corners of the frame. They ensure stability and help maintain the desired shape of the DIY grow tents.
- Screws or adhesive: Screws provide a strong mechanical bond between the PVC pipes and the corner connectors or brackets.
Covering Materials
- Reflective material (e.g., Mylar, reflective foil): Basically all credible grow tent manufacturers, such as Spider Farmer, use reflective material to maximize light absorption and ensure even light distribution.

- Blackout fabric or light-proof material: This material is employed to block out external light sources and prevent light leaks.
- Zipper for access: Zippers are used to create access points in the covering material, allowing growers to easily enter the grow tent for maintenance and inspection.
Ventilation & Airflow Systems
- Inline fans: The inline fans are installed within the grow tent to promote air circulation and exchange, helping to maintain proper grow tent temperature and humidity, and CO2 levels for healthy plant growth.
- Carbon filters: Carbon filters are utilized in conjunction with the inline fans to effectively eliminate odors and filter out airborne contaminants, so you don’t have to worry about how long does the smell of weed last in a room.
Lighting
- Grow lights: Grow lights are essential artificial light sources used to provide all necessary spectrum and intensity of light required for plant photosynthesis and growth. LED grow lights, fluorescent, and HID lights (particularly HPS grow lights) are common options used in indoor gardening.
- Light hangers or hooks: With these, you can easily adjust the height and position of the lights to meet the specific needs of the plants.
Handwork Tools
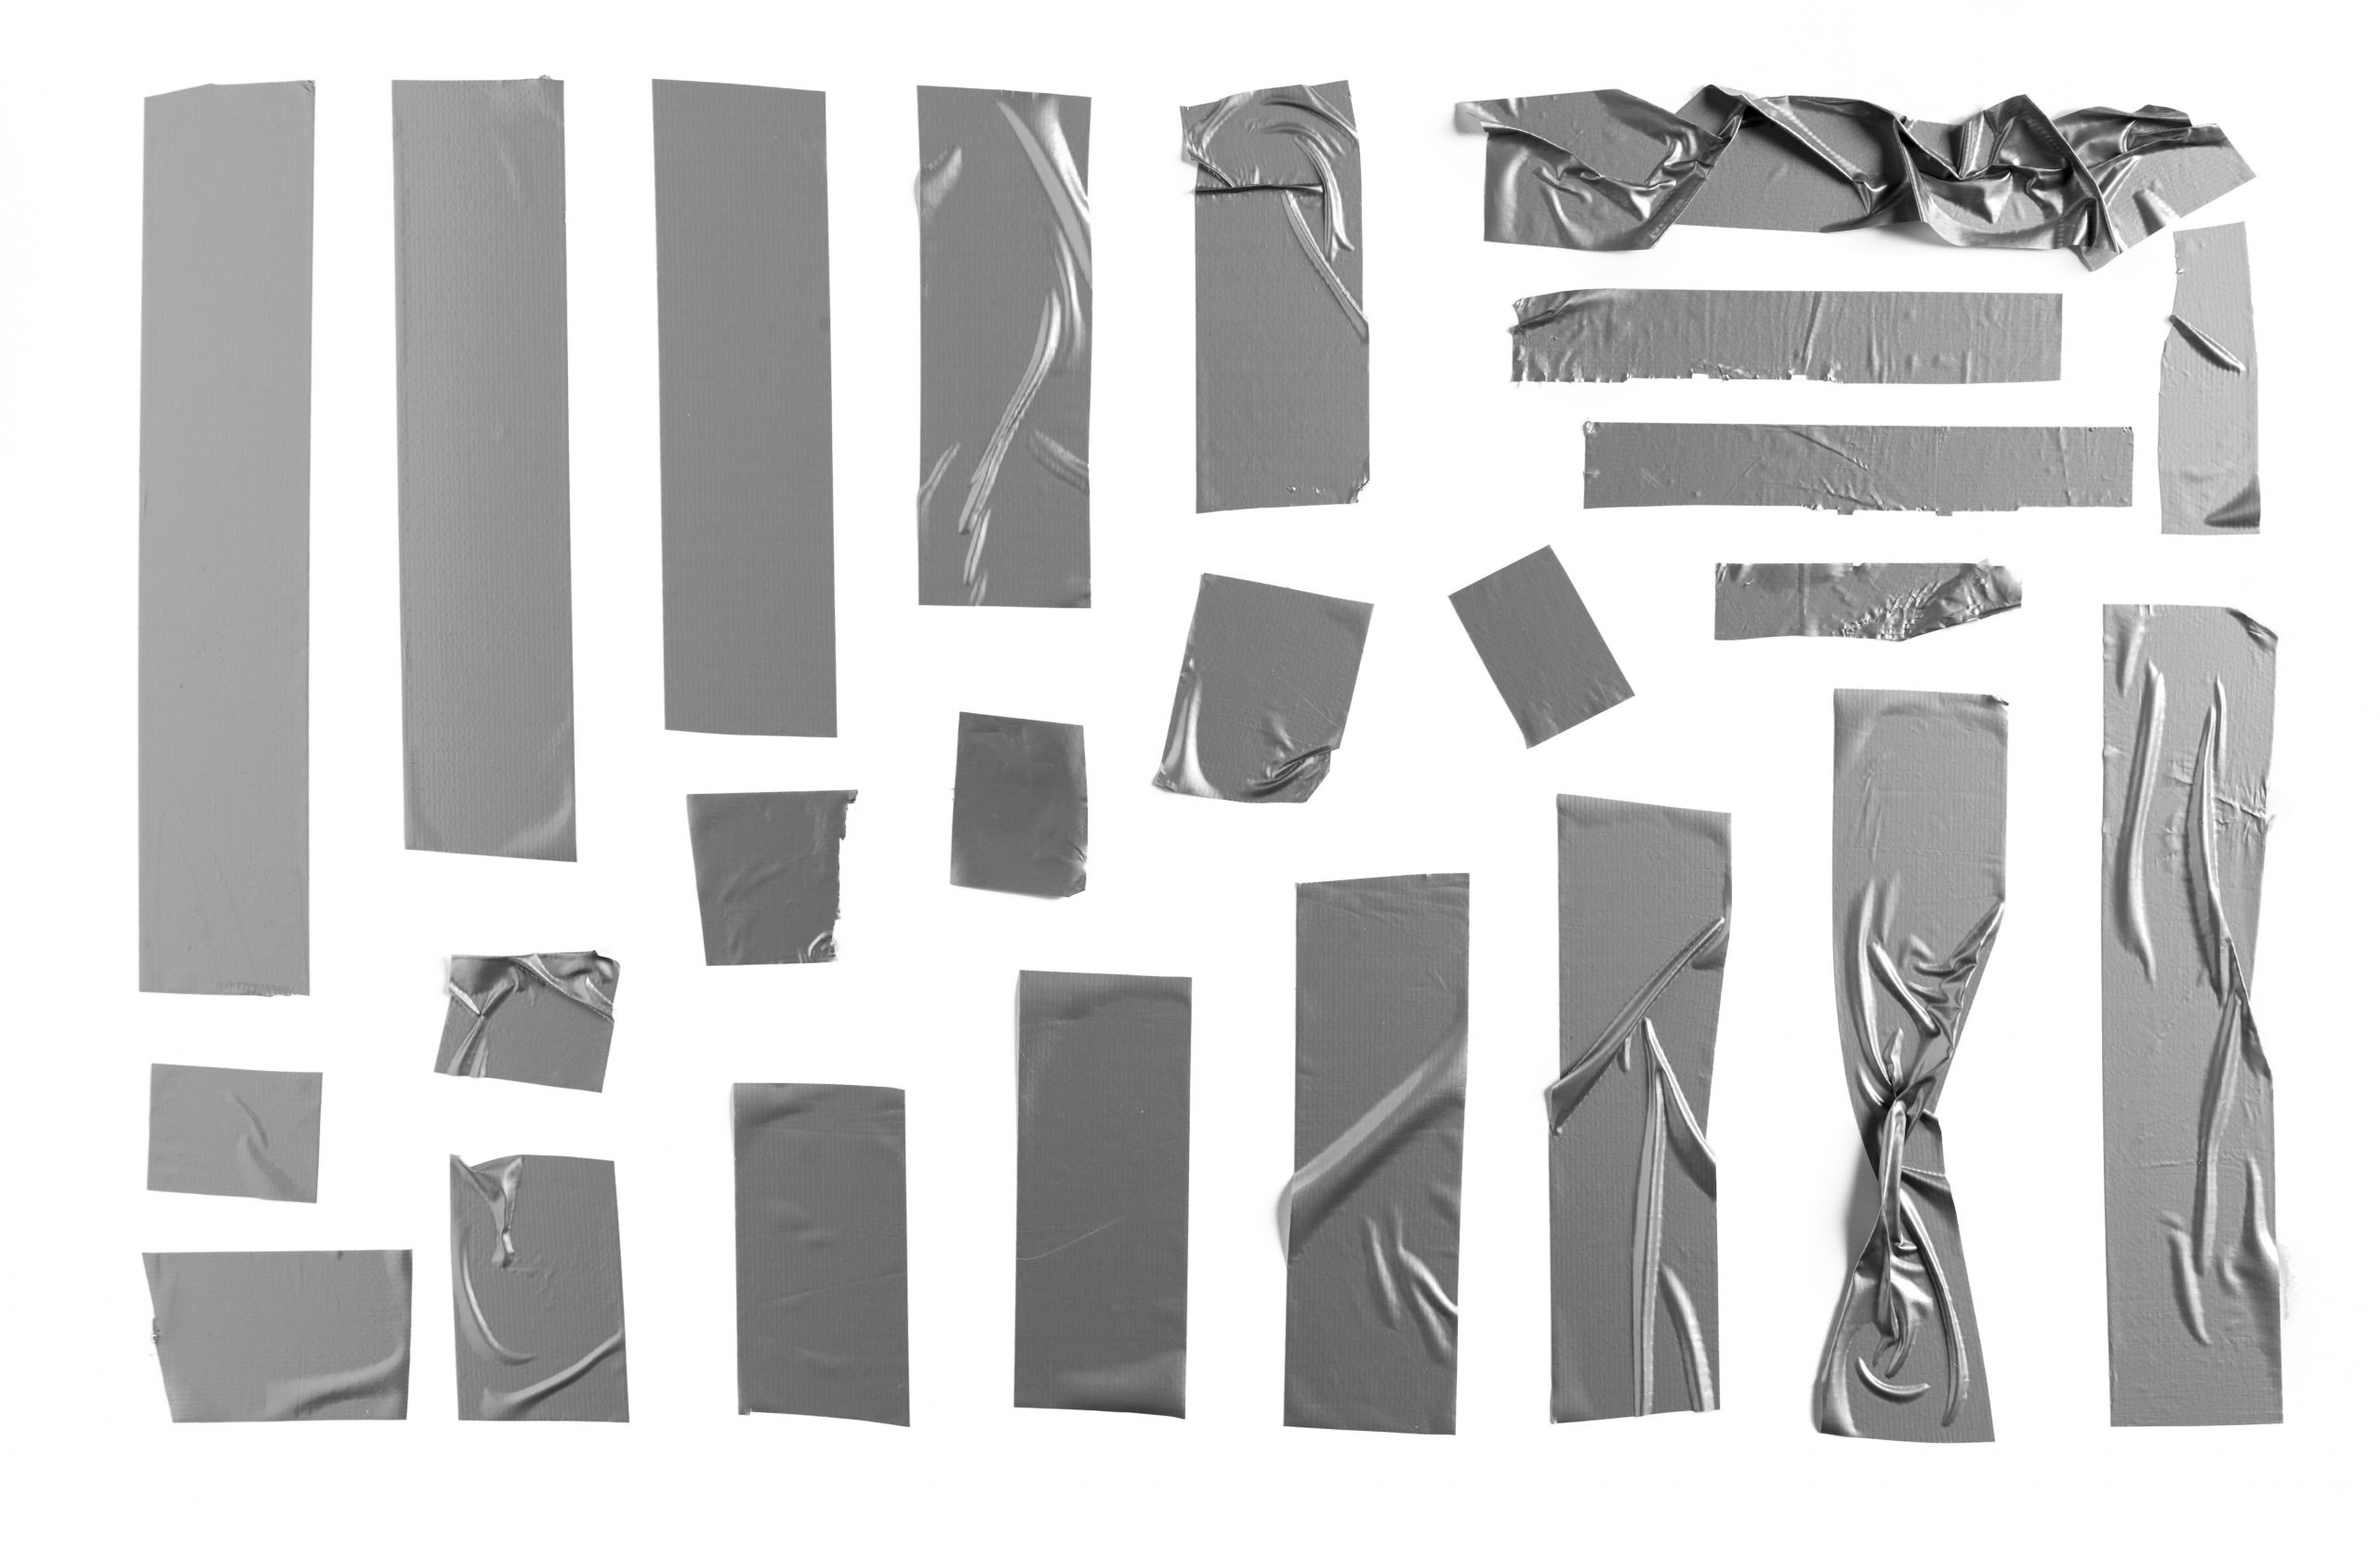
Apart from the materials of a DIY grow tents, you’ll also need essential handwork tools to assemble them. Common tools include duct tape, a screwdriver or drill, a hand saw, etc.
In addition, there are some other accessories that will definitely glorify your DIY grow tent but they are not actually must-haves if you are just starting to grow plants indoors. For example, thermometers, hygrometers, power strips, heat mats for plants, and water-resistant seed starting trays.
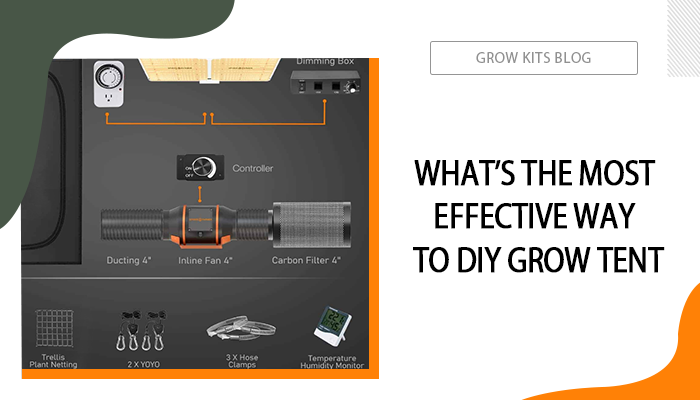
Step-by-Step Guide to Building a DIY Grow Tent
With all peripherals available, let’s start to build the tent step by step!
Step 1. Determine the Location
Before anything else, you should be aware of where to place the homemade grow tents. That’s because the area determines how large your grow tent should be, or vice versa. You can either put the small grow tent in your living room or the bedroom.
Step 2. Construct the Frame
When using PVC pipes, measure and cut the pipes to the desired dimensions using a hacksaw or PVC pipe cutter. If you have no clue how many pipes to buy, just remember for a standard-sized grow tent, you will need 16 straight pieces of pipe: 4 for the vertical supports (at least 1.5m long), 4 for the base, and 8 for the roof.
Once the PVC pipes are cut to size, connect them using corner connectors or brackets and secure them with screws or adhesive. Make sure that the roof section includes a cross-fitting in the middle to provide additional stability for hanging lights, fans, etc.
Step 3. Cover the Frame
As recommended above, a reflective material such as Mylar or reflective foil is your best option to cover the tent. You should measure the dimensions of the frame and cut the reflective material to fit the walls and ceiling of the grow tent.
If desired, you can even cover the reflective material with blackout fabric or light-proof material to prevent any light leaks. Attach the fabric using adhesive or by sewing it onto the edges of the reflective material.
Step 4. Install Ventilation Systems
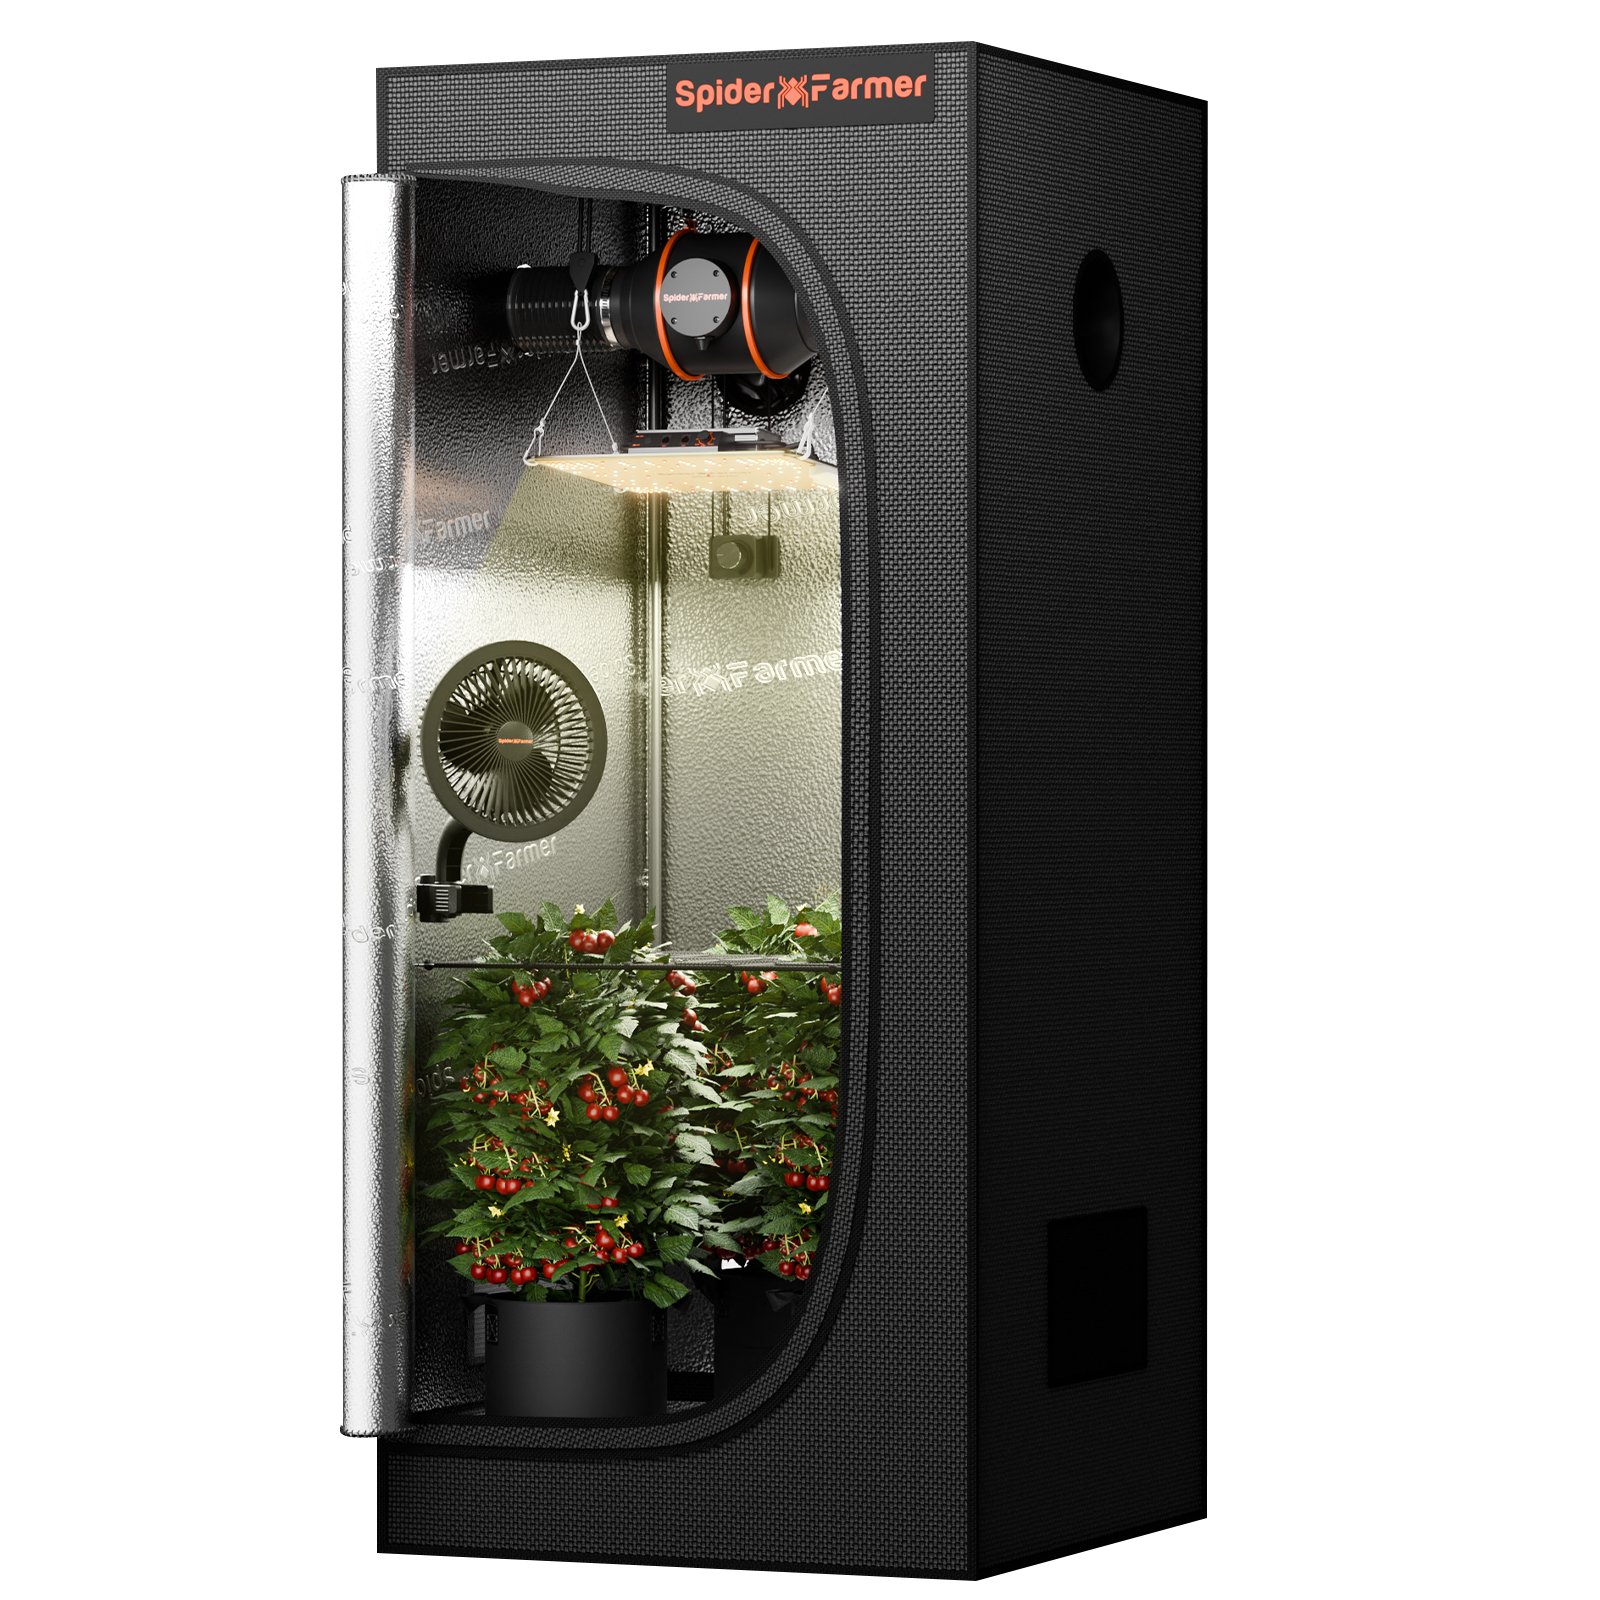
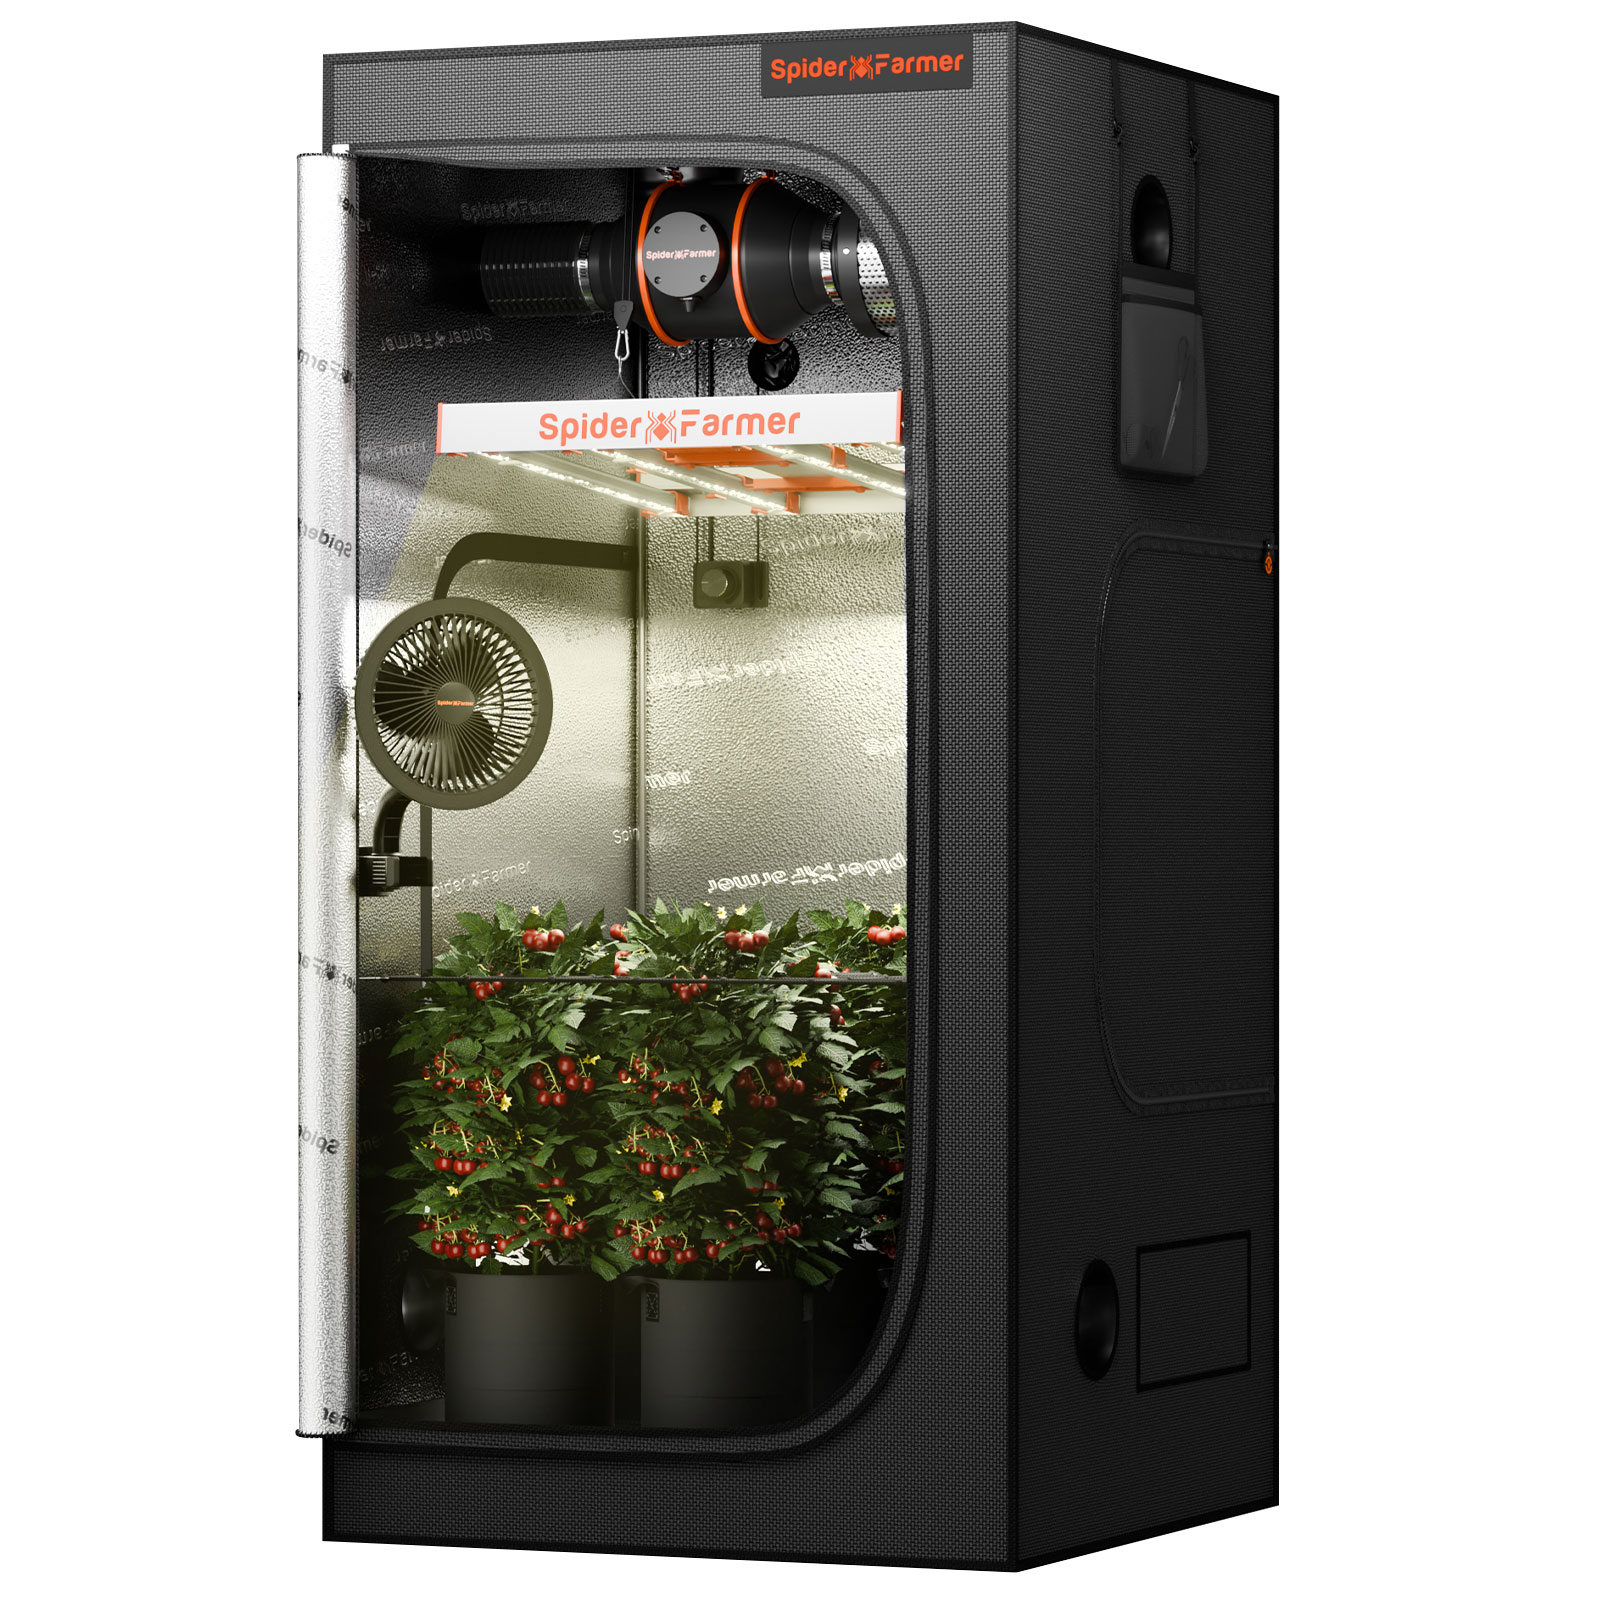
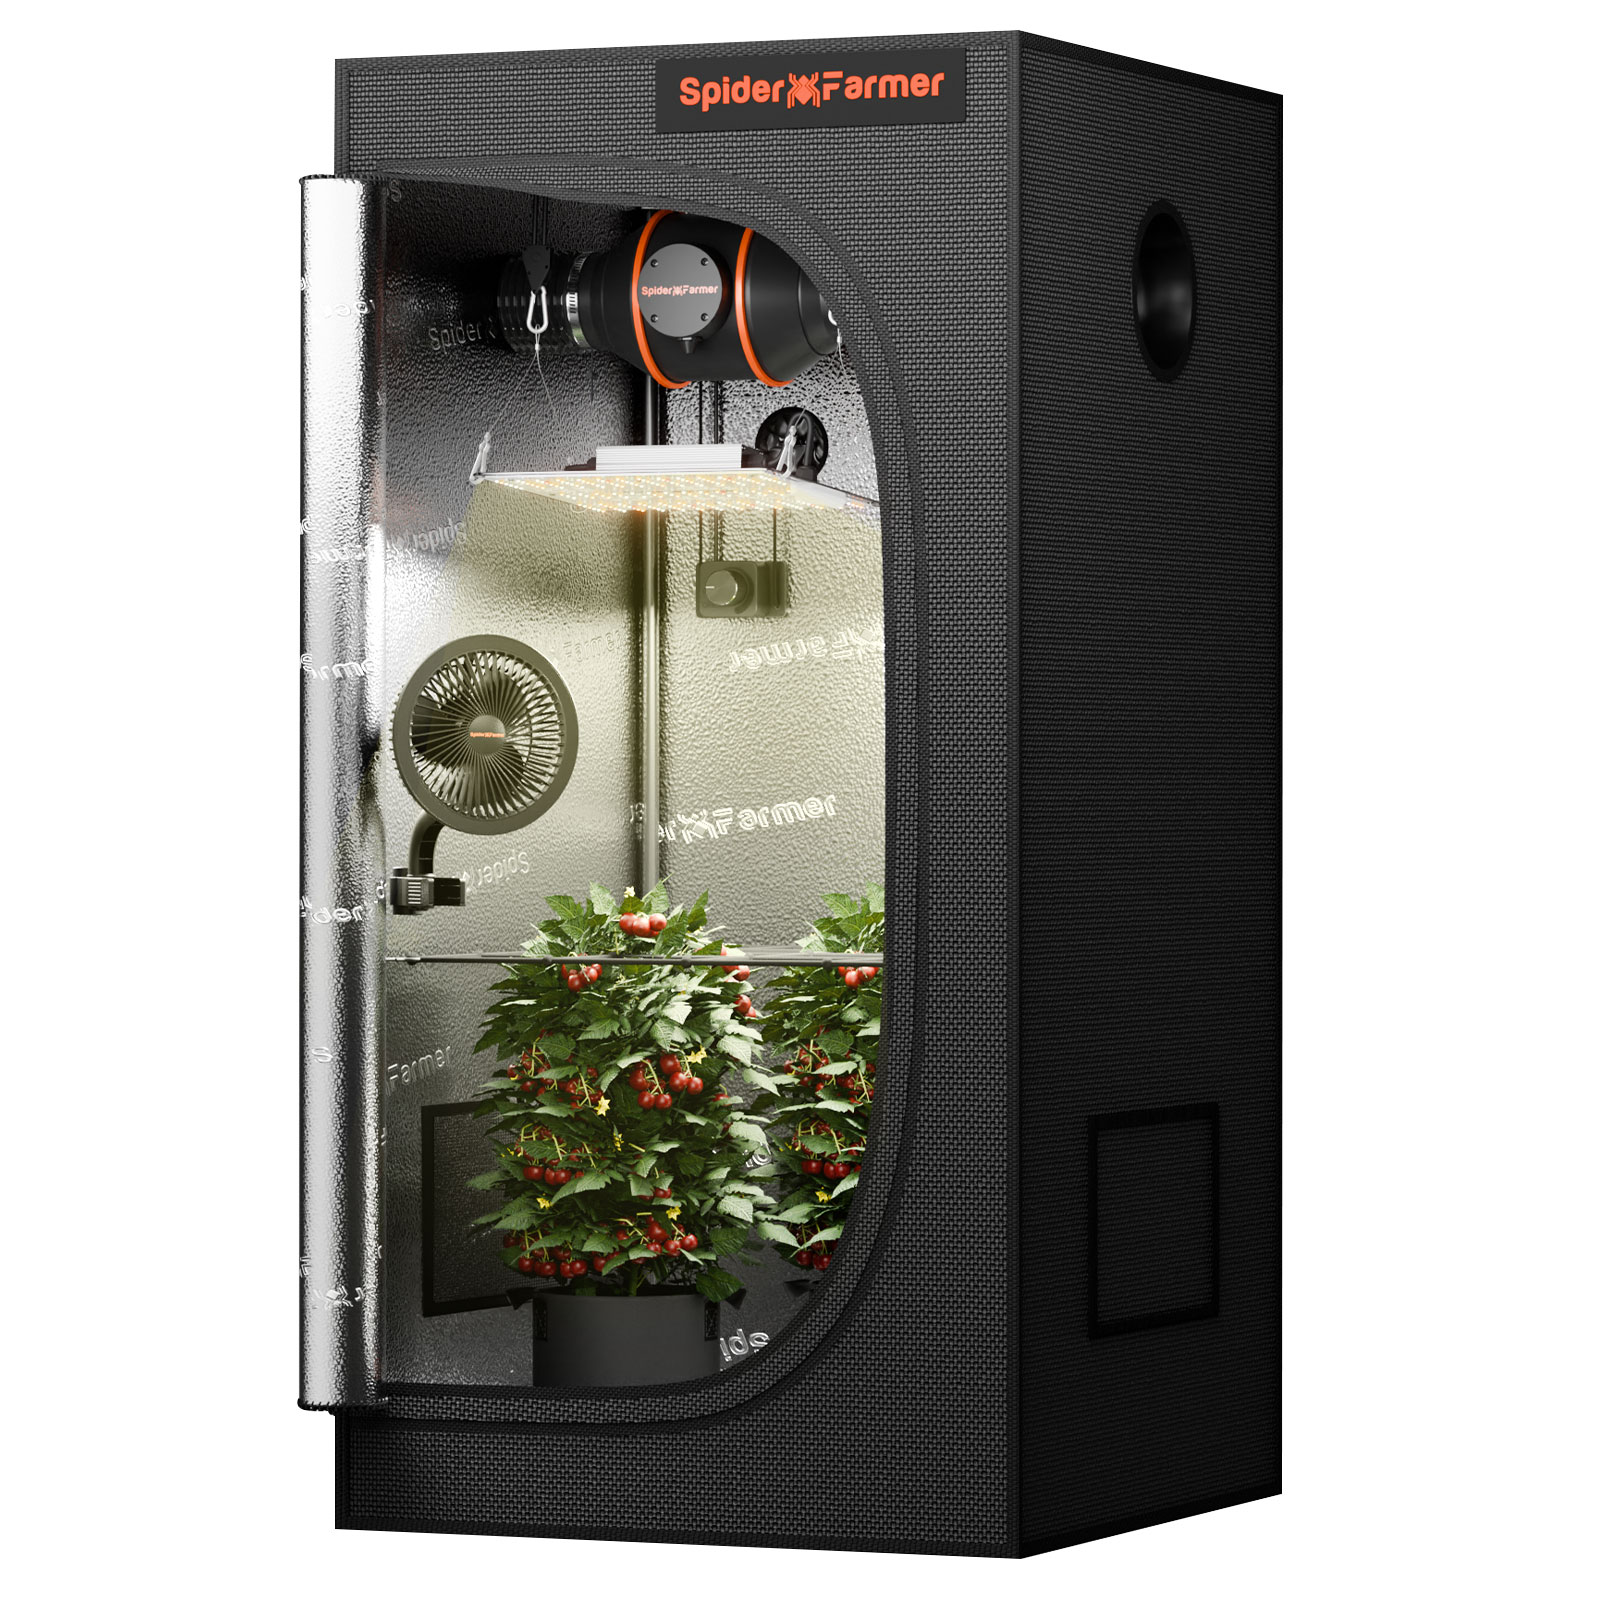
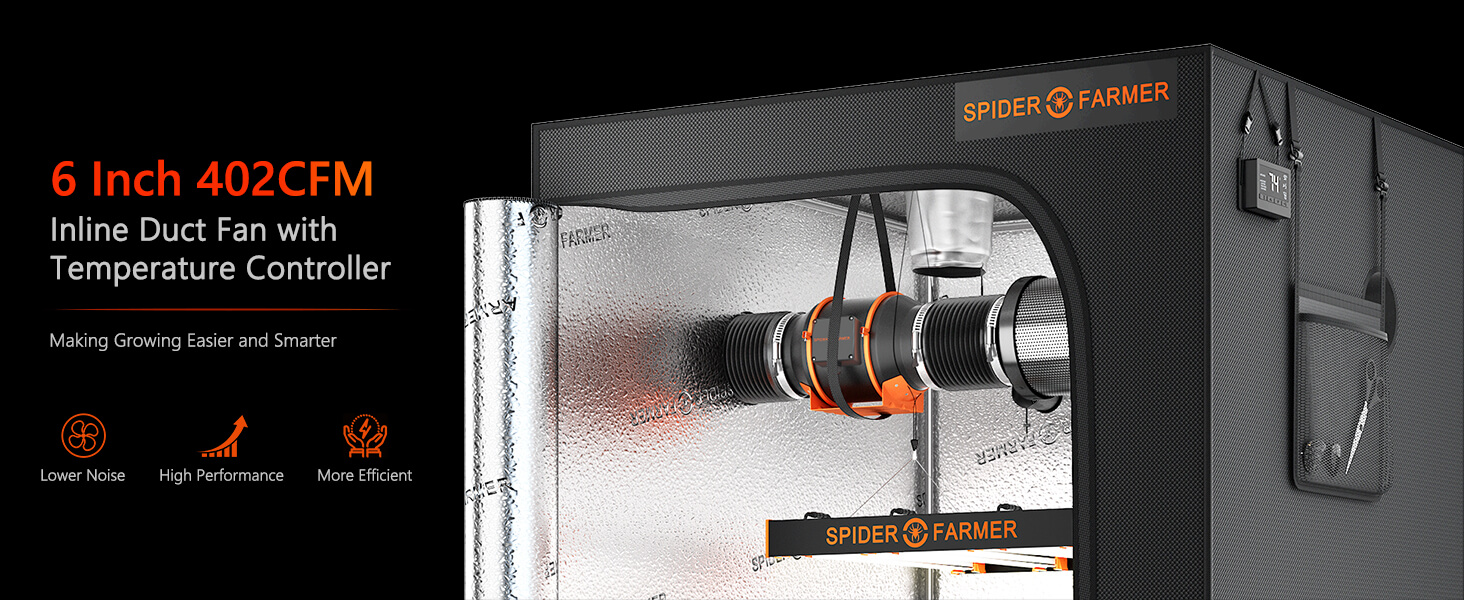
Hang the inline fans within the grow tent, generally near the top of the grow tent, to ensure proper air circulation. You may also connect carbon filters to the inline fans to remove odors and purify the air. Fortunately, the 6-inch inline fan from Spider Farmer comes with built-in carbon filters that save you from buying additional materials.
Then, you can attach ducting to the inline fans, ensuring a tight fit. Run the ducting to the desired air vents or duct vents positioned for both intake and exhaust.
Step 5. Set up Lighting
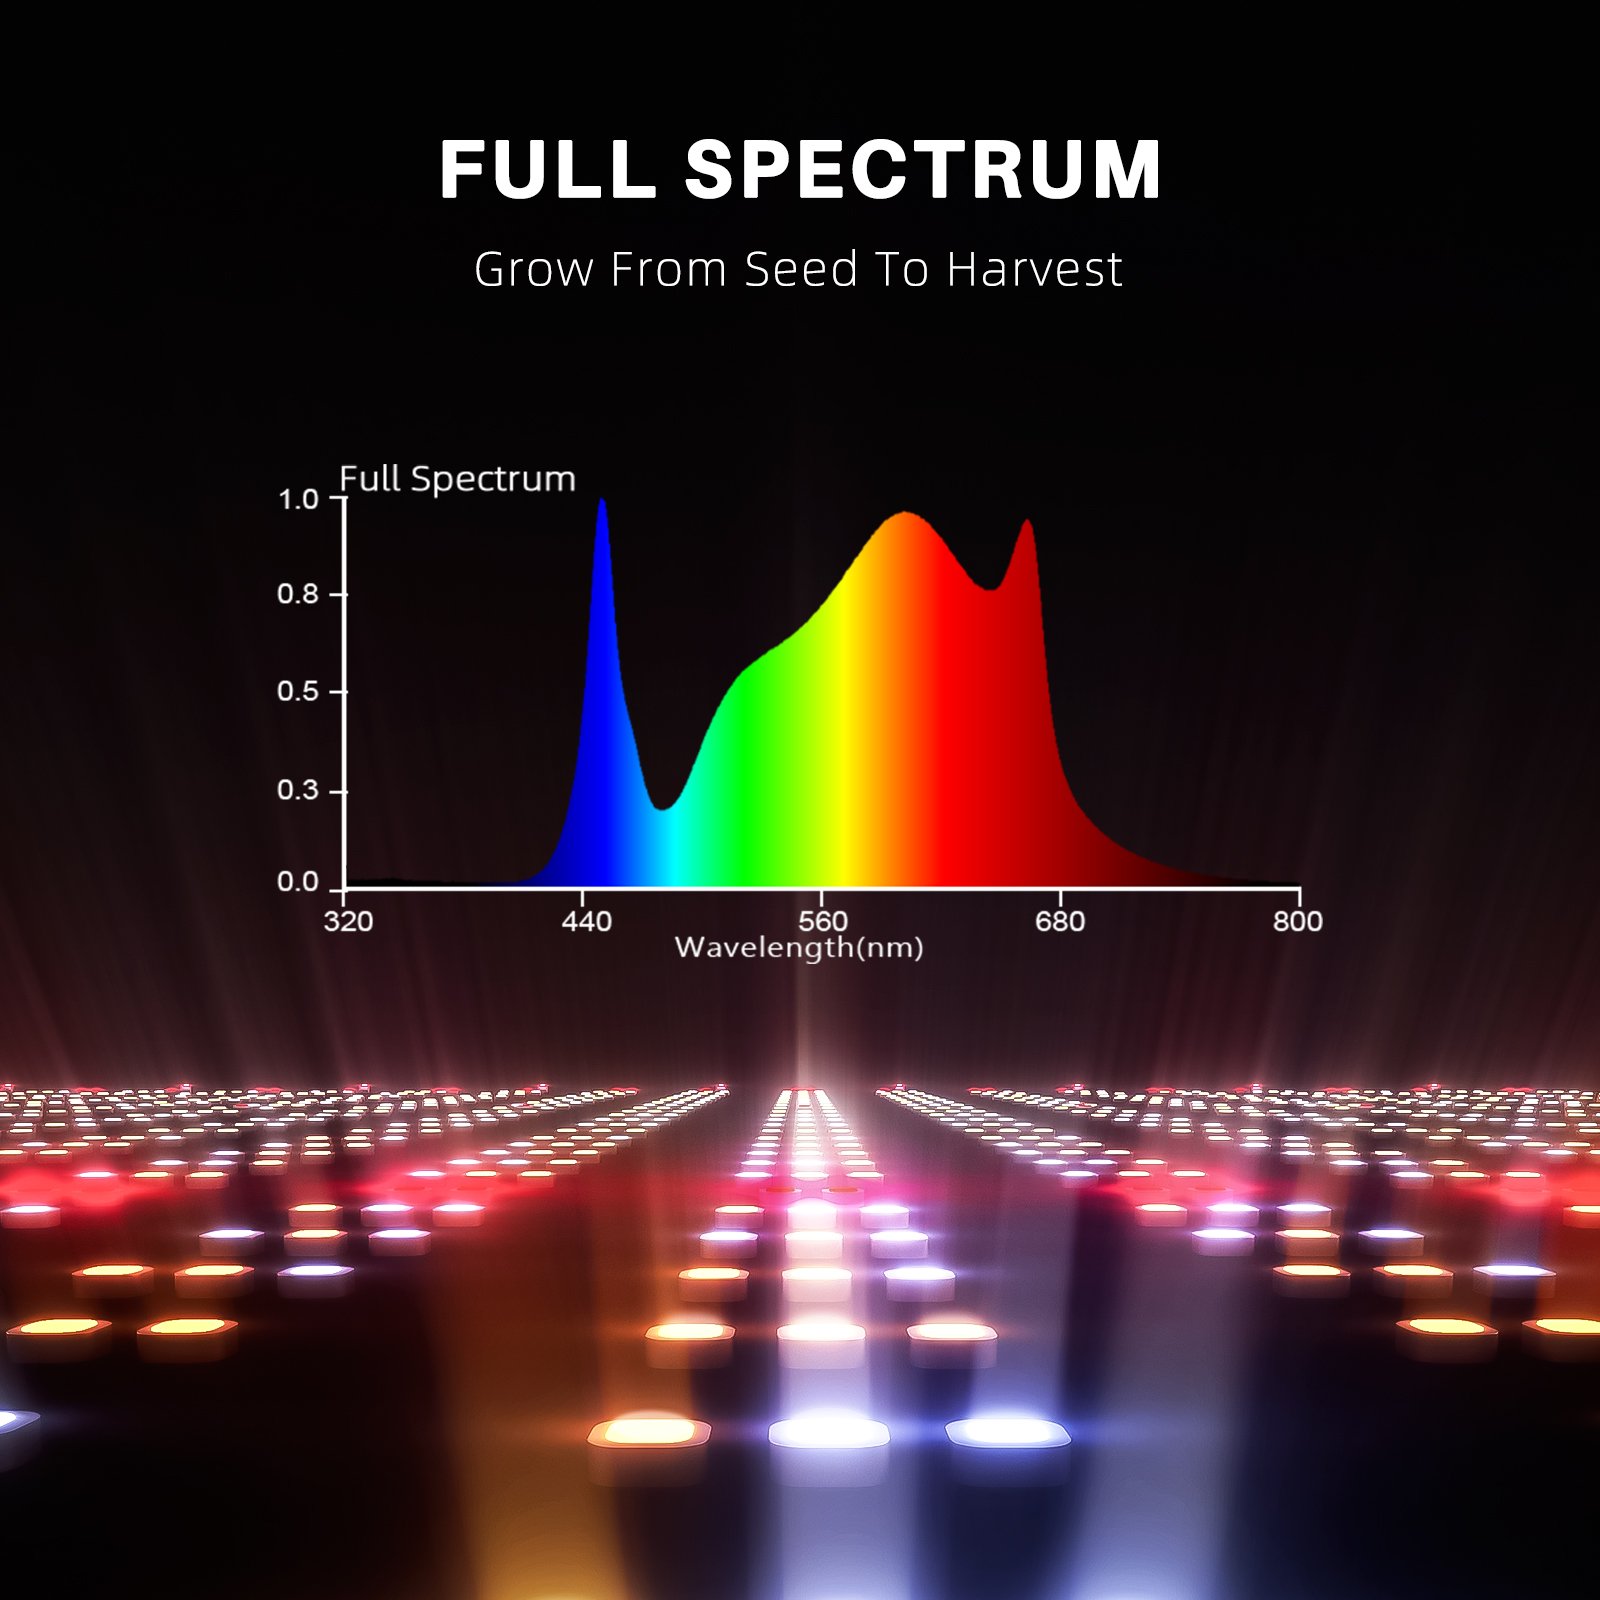
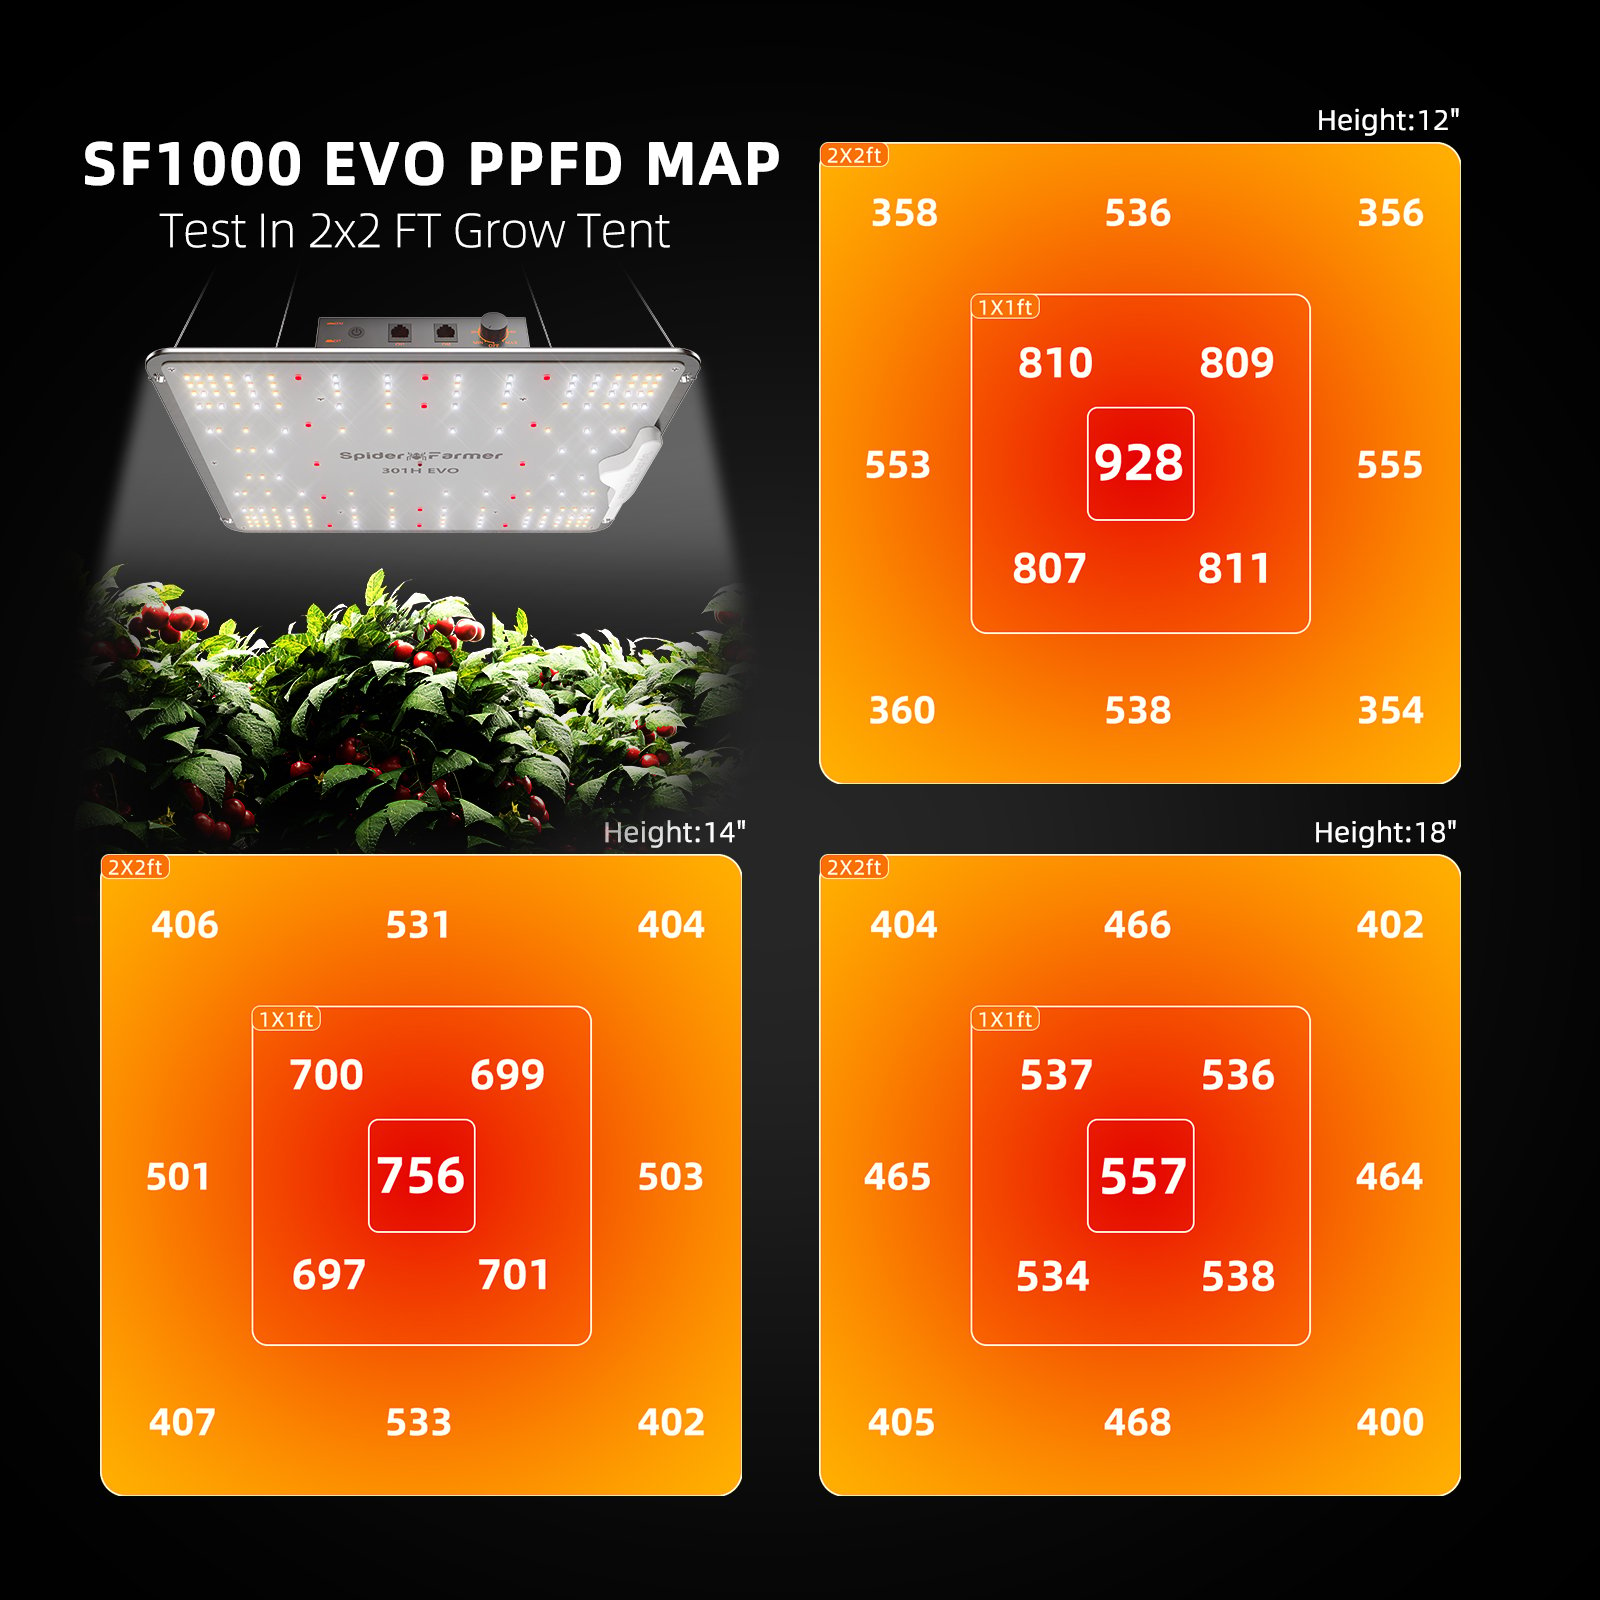
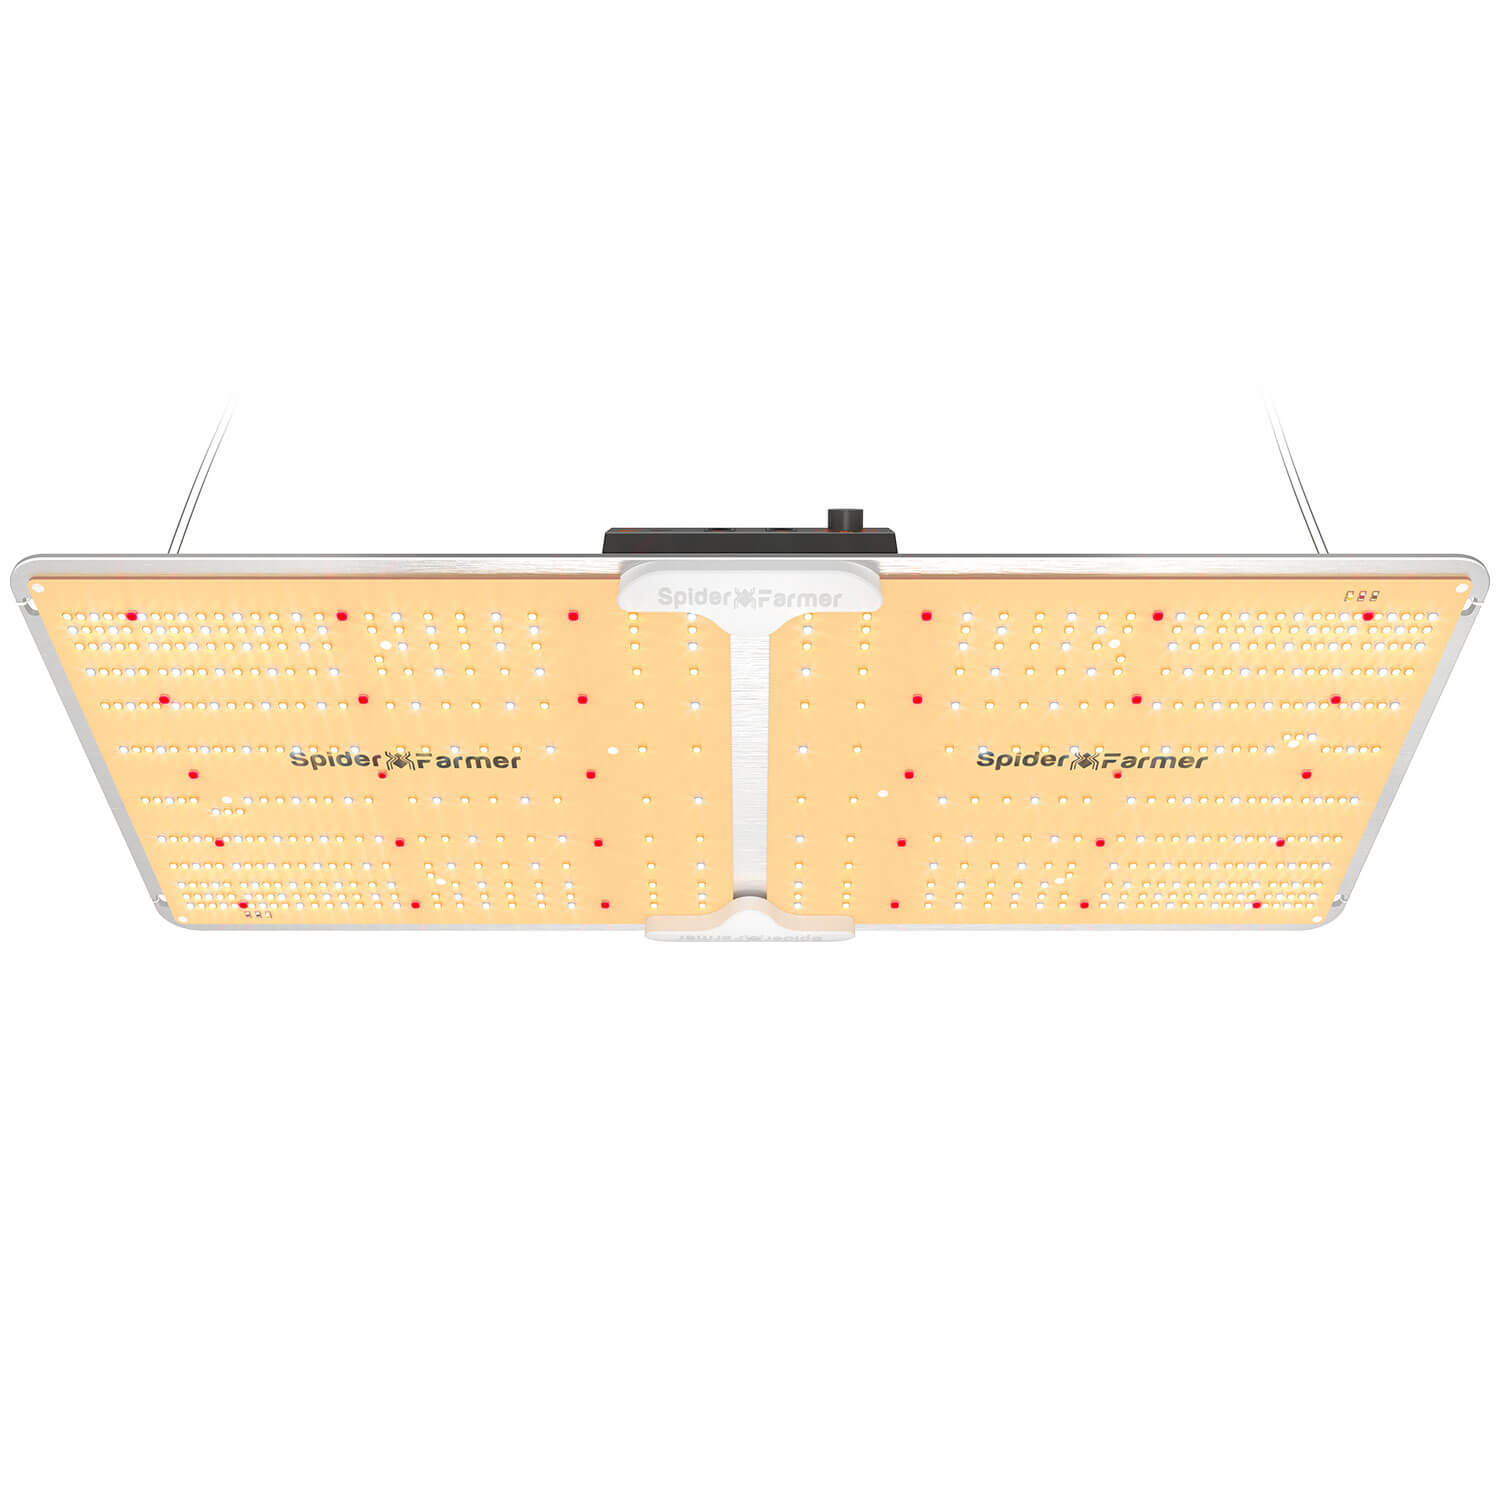
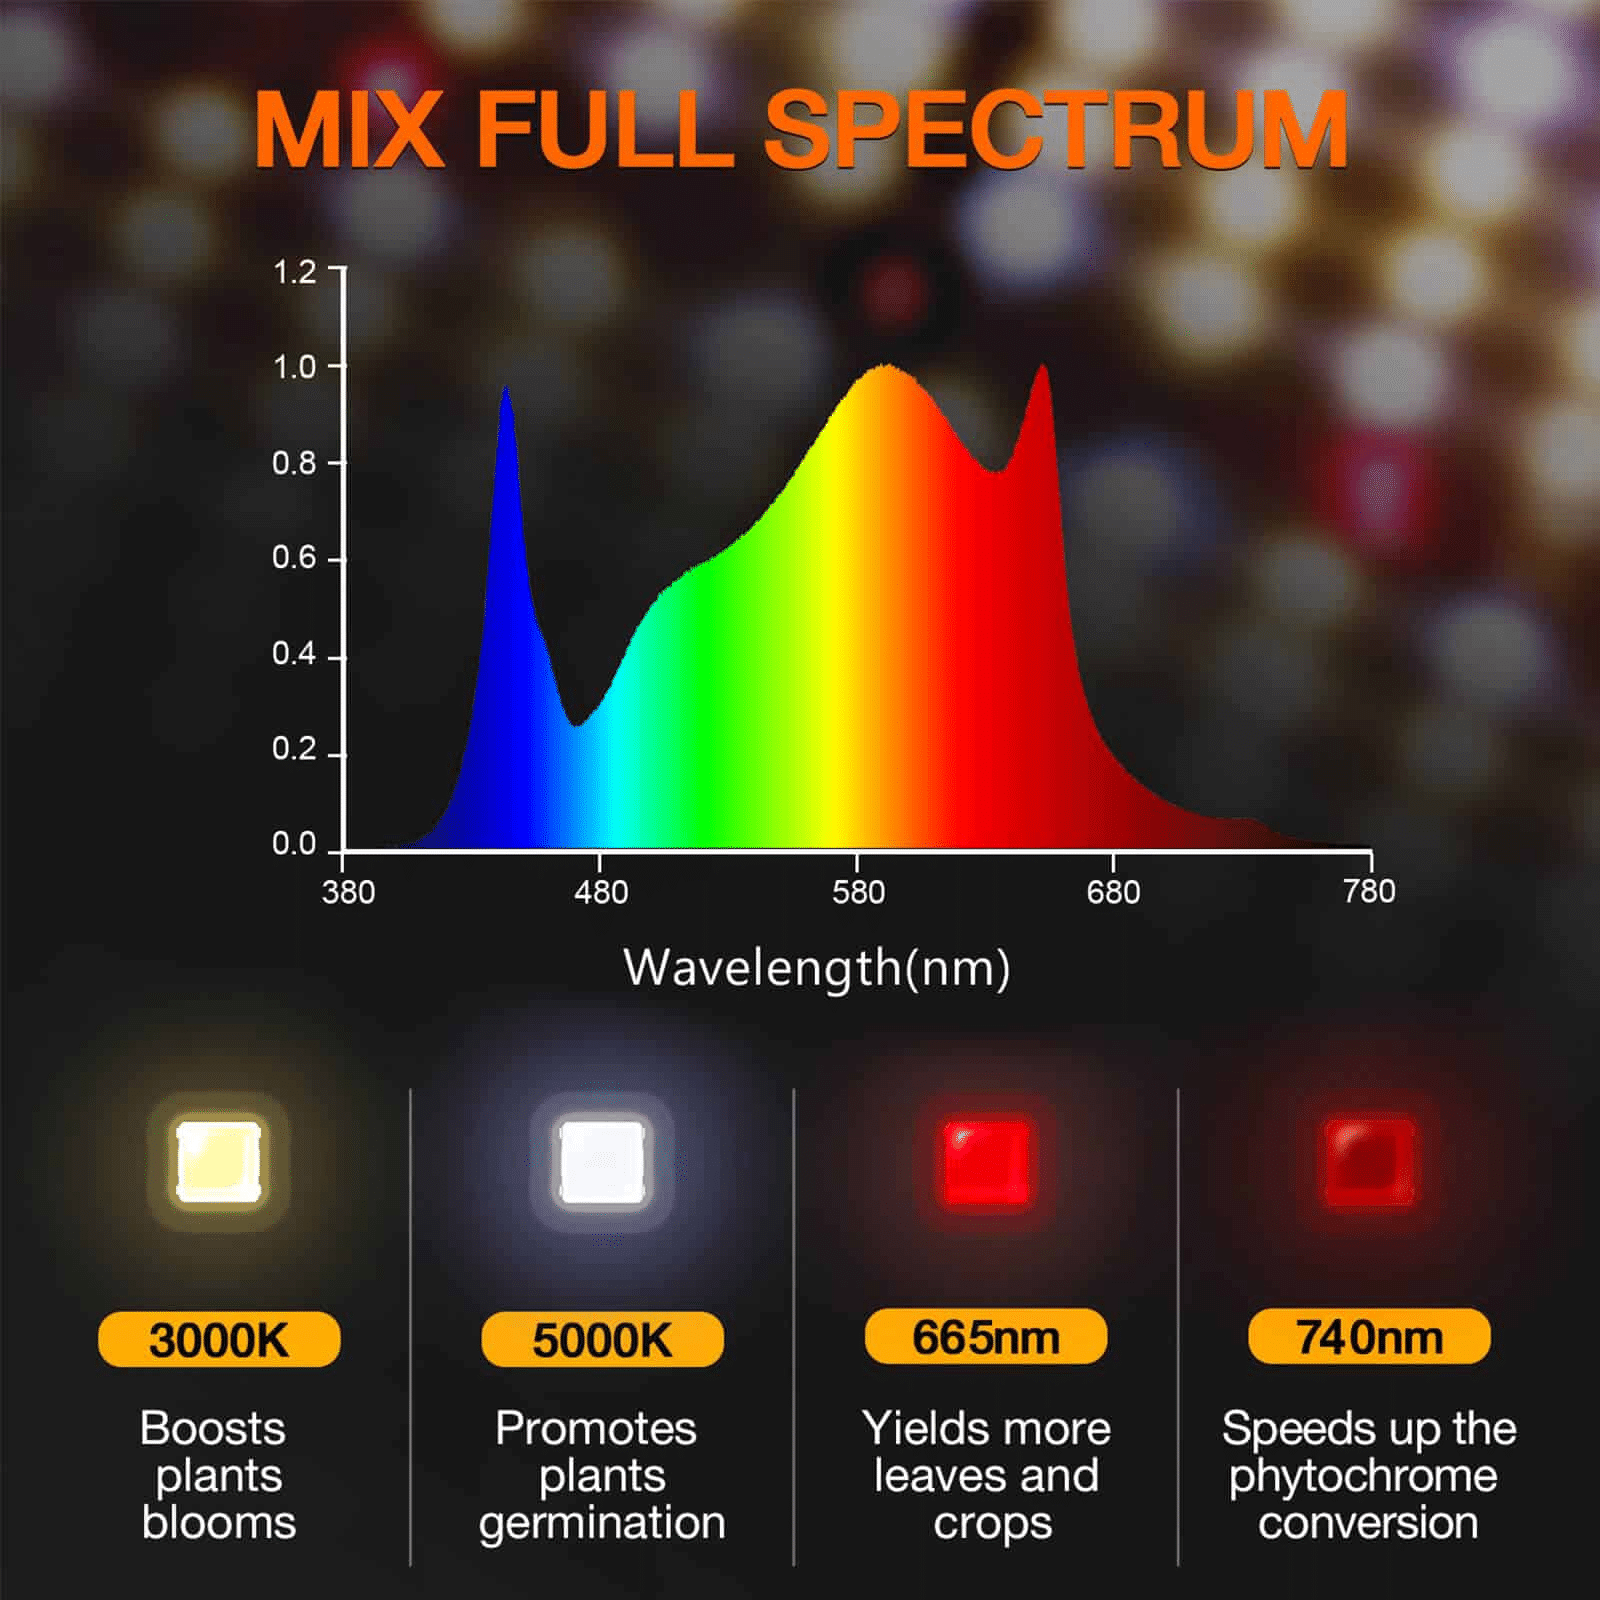
- Select the appropriate grow lights: Among all types of grow lights, the top recommendation goes to the LED grow light, thanks to its high efficiency and full-spectrum control. At Spider Farmer, we have the Spider Farmer SF1000 that’s able to cover all required growth light spectrums for your plant growth.
- Install light hangers or hooks: Attach light hangers or hooks to the frame of the grow tent, ensuring they can support the weight of the lights.
- Mount the lights: Hang the grow lights from the hangers or hooks at the desired height. Connect the lights to a power source using appropriate cables or extension cords.
Read more: LED grow lights distance from plants
Step 6. Seal and Secure the Grow Tent
- Prevent light leaks: Use duct tape or foil tape to cover any gaps or seams in the reflective material, ensuring no light can escape or enter from outside the tent.
- Fasten and secure components: Zippers from most manufacturers are reported vulnerable, therefore, it’s suggested to use zip ties or wire to fasten and secure cables, equipment, and other components within the grow tent, so your DIY grow tents can be more long-lasting.
With all being done, you are only one step before introducing plants, which is to test all the systems, including lighting, ventilation, and temperature control. Make necessary adjustments to ensure everything is functioning properly, then you can start growing indoor plants with your homemade grow tent!
Reasons to Choose DIY Grow Tents
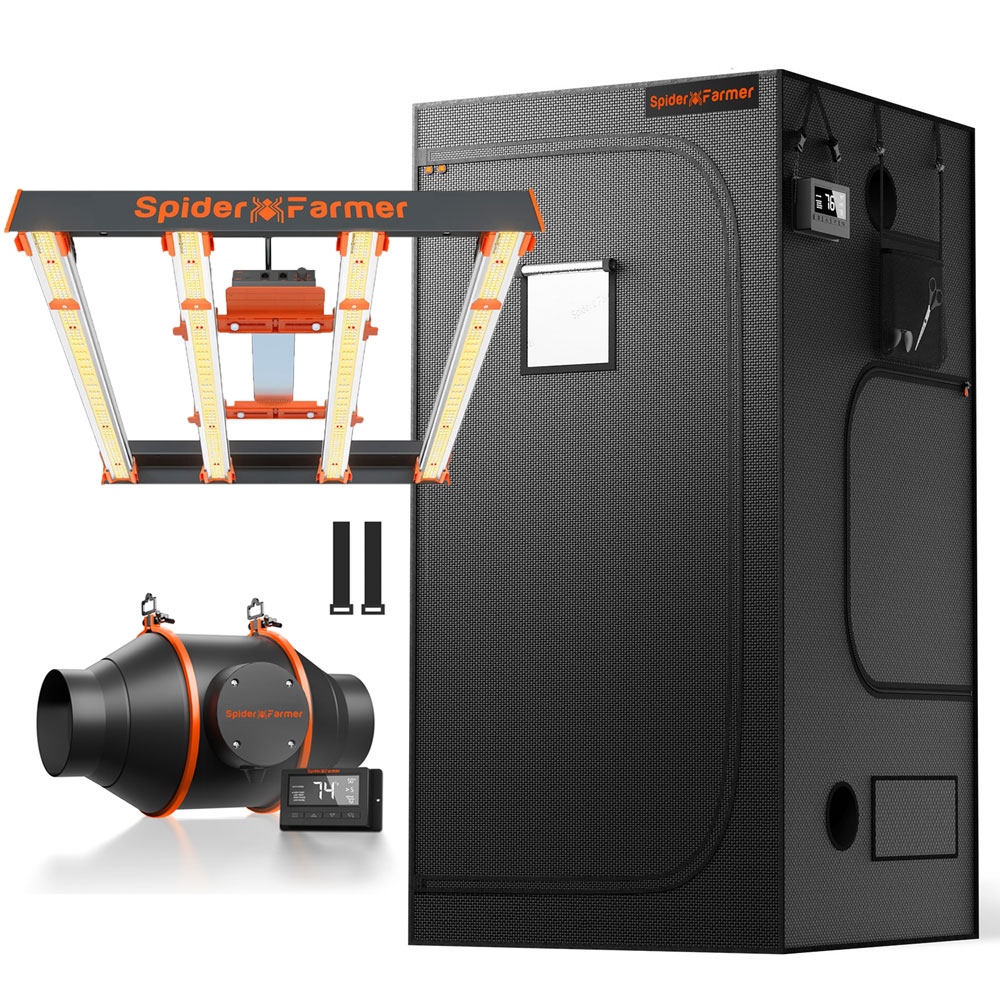
With so many high-quality and powerful indoor grow tent kits, for example, the various sizes you can check below, why bother to build homemade grow tents?