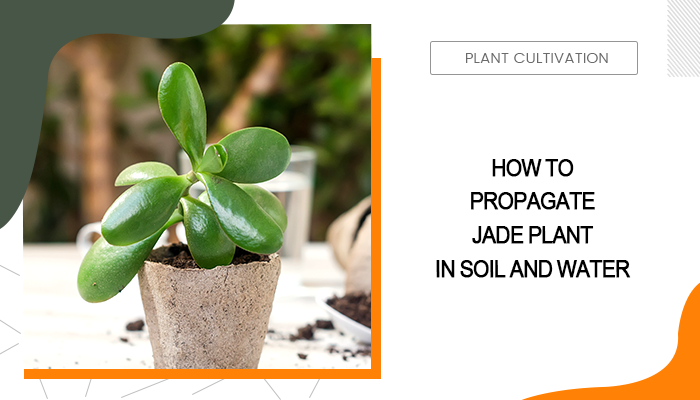
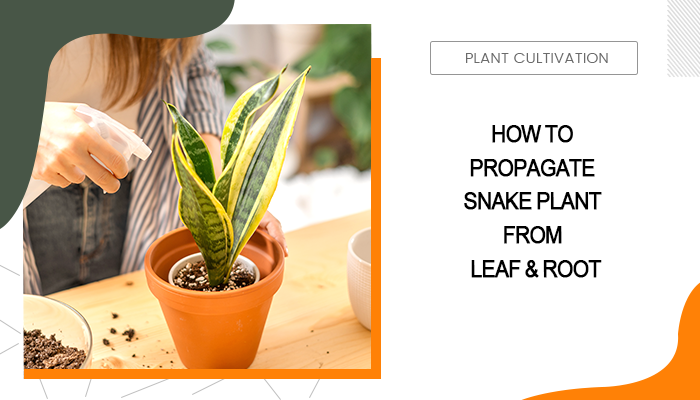
How to Propagate a Snake Plant in Water
Propagating snake plants in water allows you to watch the journey of a leaf cutting as it develops roots, transforming into a viable plant before your very eyes. At its core, water propagation leverages the natural resilience and adaptability of snake plants. By providing a supportive aquatic environment, the cut end of a snake plant leaf can develop roots, drawing the necessary nutrients and oxygen directly from the water.
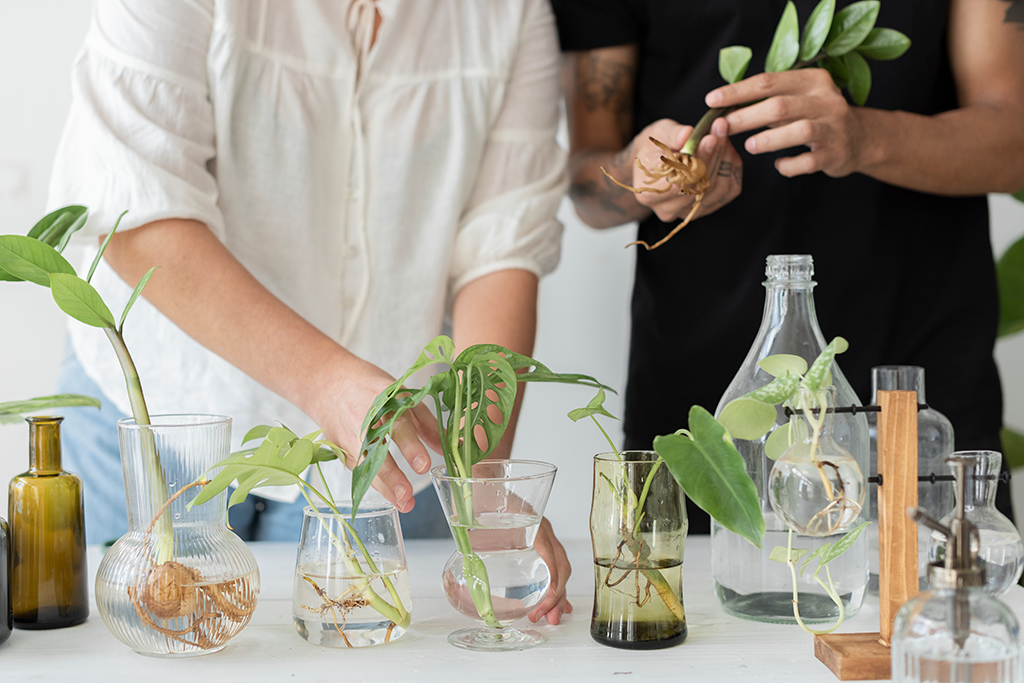
Step 1: Look for a healthy, mature leaf on your snake plant. It should be free from damage, discoloration, or disease. It’s easy to understand that a healthy leaf is more likely to root successfully and grow into a robust plant.
Step 2: Using a clean, sharp knife or scissors, snip off the chosen leaf as close to the base as possible. If you want to further reduce the risk of rot, it’s recommended to leave the cut end callous over for a day or two before placing it into the water.
Step 3: Fill a clean glass or jar with filtered or distilled water. Tap water can be used if left out for a day to allow chlorine to evaporate. However, filtered or distilled water is preferred to minimize the risk of mineral buildup, which could potentially harm the delicate developing roots.
Step 4: Place the cut end of the leaf into the water-filled container. Ensure that 1/4 of the leaf is submerged, but avoid letting the leaf's surface touch the water to prevent rot.
Step 5: Position the container in a location that receives bright, indirect light. Change the water weekly to keep it fresh and oxygenated. Once the snake plant cuttings emerge new shoots, you can consider transferring them to the soil.
There are mainly two disadvantages of water propagation. Cuttings from variegated snake plants are likely to lose their distinctive patterns through water propagation. Additionally, this method is known to be the slowest way of propagating snake plants, generally taking at least 2 to 4 months to finish propagating in water.
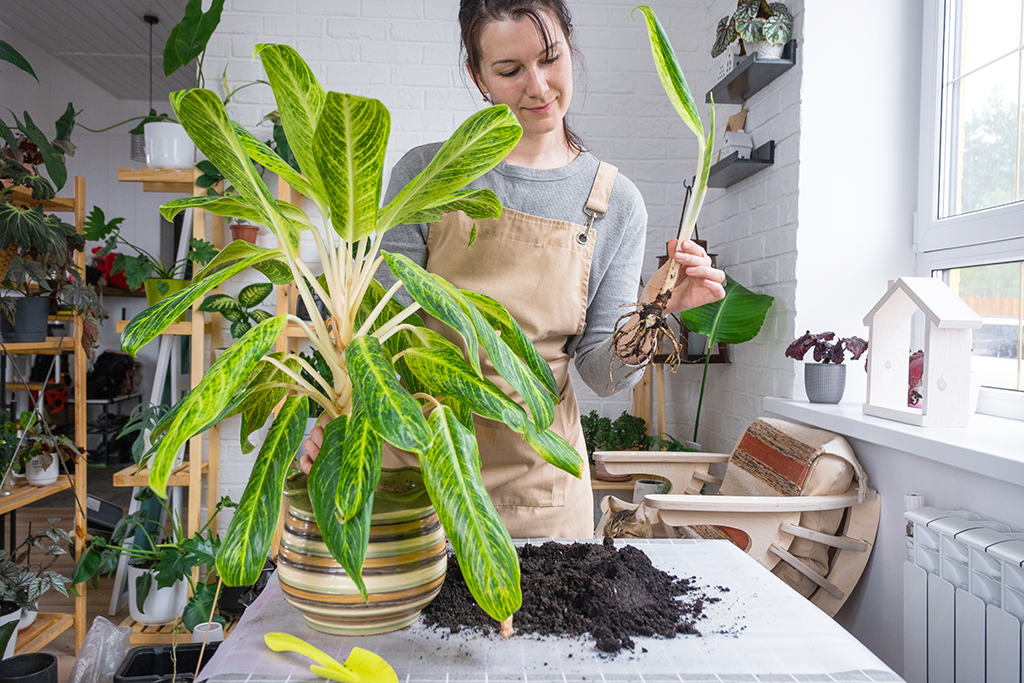
How to Propagate a Snake Plant with Soil
If you are interested in mixing different varieties (Sansevieria cylindrica, Sansevieria moonshine) in one pot, soil propagation is the way. This method closely mimics the plant's natural rooting process, facilitating a smoother transition and potentially more robust root development from the outset.
Here’s a detailed guide on how to propagate a snake plant using soil:
Step 1: Similar to water propagation, you should look for a healthy, mature leaf from your mother snake plant. Once identified, cut the leaf into sections. Each section should be at least 2-3 inches long to ensure enough area for root and shoot development.
Tips: Before planting, make a slanted cut or create an upside-down V shape at the base of each snake plant cutting. This serves as a visual cue to remember which side the roots will emerge from and also increases the surface area available for root development.
Step 2: Place the cut sections in a dry, well-ventilated area out of direct sunlight. Leave them for about 24 to 48 hours until the cut ends dry out and form a callous. This step is crucial to prevent bacteria and rot once the cuttings are planted in the soil.
Step 3: Use a well-draining potting mix suitable for succulents or make your own by mixing regular potting soil with sand or perlite to improve drainage. Snake plants are susceptible to root rot, so good drainage is key.
Step 4: Fill a pot with your prepared soil mix and moisten the soil slightly. Plant the calloused cuttings upright about an inch deep into the soil. If you have a seedling heat mat available, consider placing the potted cuttings on top of it. The heat mat can help maintain a consistent soil temperature, which contributes to faster root development within 2 weeks.
After planting, water the soil lightly to settle it around the cuttings. Going forward, water sparingly, only when the soil is completely dry. For soil propagation, root development can take several weeks to a few months.
The biggest drawback of propagating snake plants in soil lies in the invisibility. You won’t be able to monitor the root growth as the cuttings are all buried underneath the soil. Plus, this method won’t guarantee plant diversification as well.
How to Propagate a Snake Plant by Division
Unlike the slower process of propagating from individual leaves, division offers a quicker route to multiplying your snake plant collection. Moreover, divisions from the parent plant tend to maintain the variegation patterns, ensuring that the new leaves inherit the striking aesthetic qualities of the original plant. If that’s what you care, follow the guide below to propagate snake plants by division.
Note: This method is ideal for snake plants that have outgrown their pots or have multiple shoots, offering a straightforward way to rejuvenate older plants and expand your collection.
Step 1: Begin by gently removing the snake plant from its pot. Take care to support the plant's base while easing it out of the container, ensuring minimal disturbance to the roots.
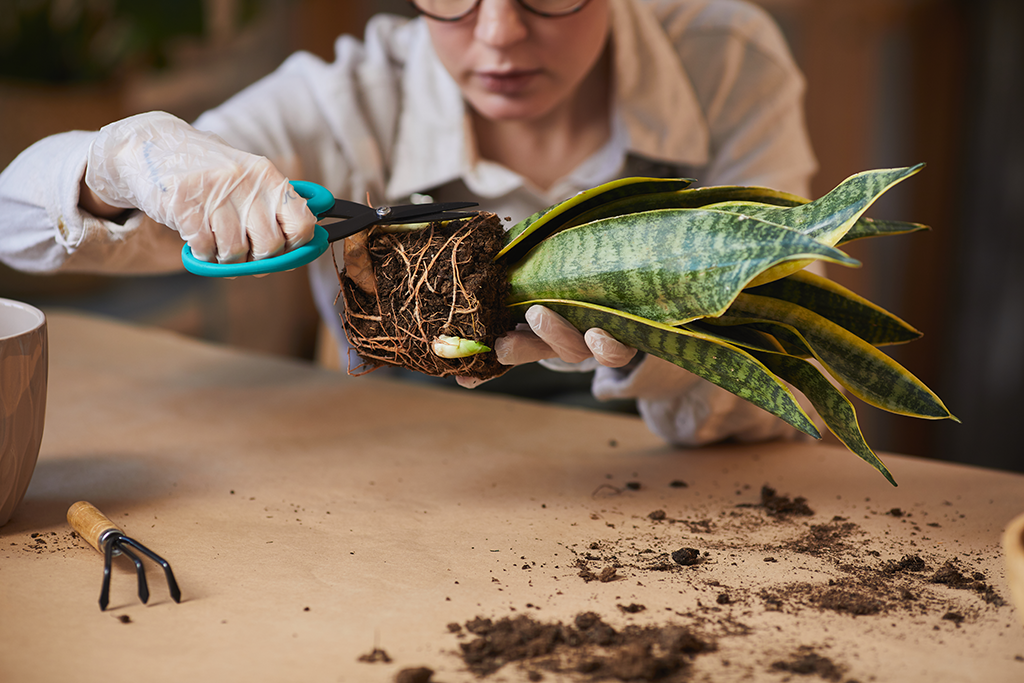
Step 2: Once the plant is out of the pot, take a close look at the root system. Look for natural divisions or areas where the plant has produced multiple shoots from the base. These are the sections that can be separated to create new plants.
Step 3: Using clean and sharp gardening tools, such as a knife or pruning shears, carefully divide the snake plant into individual sections. Ensure that each section contains a minimum of three rhizomes, a leafy apex, or a young snake plant offshoot attached.
Step 4: Plant each separated section into its own pot filled with well-draining potting mix. You can position the plant at the same depth as it was originally planted to maintain stability and encourage healthy growth.
Propagating snake plants by division requires a larger mother plant that has enough sections to divide.
Summary
Propagating snake plants is a fulfilling endeavor that enhances your living space and connects you deeper with the art of gardening. By following this guide, you're well on your way to propagating snake plants in 3 different approaches, ready to enjoy the benefits of more greenery in your home or office.
FAQs on Snake Plant Propagation
- How long does it take for snake plant cuttings to root?
The time it takes for snake plant cuttings to root can vary depending on factors such as temperature, humidity, and the propagation method used. Generally, root development can be observed within 2 weeks to a few months, with water propagation being slower compared to soil propagation.
- Is it better to propagate snake plant in soil or water?
Both soil and water propagation methods have their advantages and disadvantages. Soil propagation typically results in faster root development and is less prone to rotting compared to water propagation. However, water propagation allows you to monitor root growth visually and can be an exciting process to observe.
- What's the best time of year for snake plant propagation?
Snake plants can be propagated throughout the year, but the spring and summer months are generally considered the best time for propagation, just like any other plants. During these seasons, the plant is in its active growth phase, which can promote faster root development and overall success rates.
- How do I know if my snake plant cutting is rotting?
Signs of rotting in snake plant cuttings include soft, mushy, or discolored sections on the cutting. Foul odors and slimy textures are also indicators of rot. If you notice any of these signs, it's essential to remove the affected areas immediately to prevent further spread.
- Why are my snake plant cuttings not developing roots?
Inadequate moisture, poor soil drainage, low humidity, and improper temperature conditions can all hinder root development in snake plant cuttings. Ensuring that the cuttings are placed in a suitable environment with optimal moisture levels, warmth, and indirect light can help encourage root growth. Additionally, using rooting hormone powder may aid in stimulating root development in stubborn cuttings.